Project 1
Images of the Russian Empire: Colorizing the Prokudin-Gorskii photo collection
- Introduction
- Single Scale Alignment
- Multi-Scale Alignment (Image Pyramid)
- Bells and Whistles (Extra Credit)
- References
Introduction
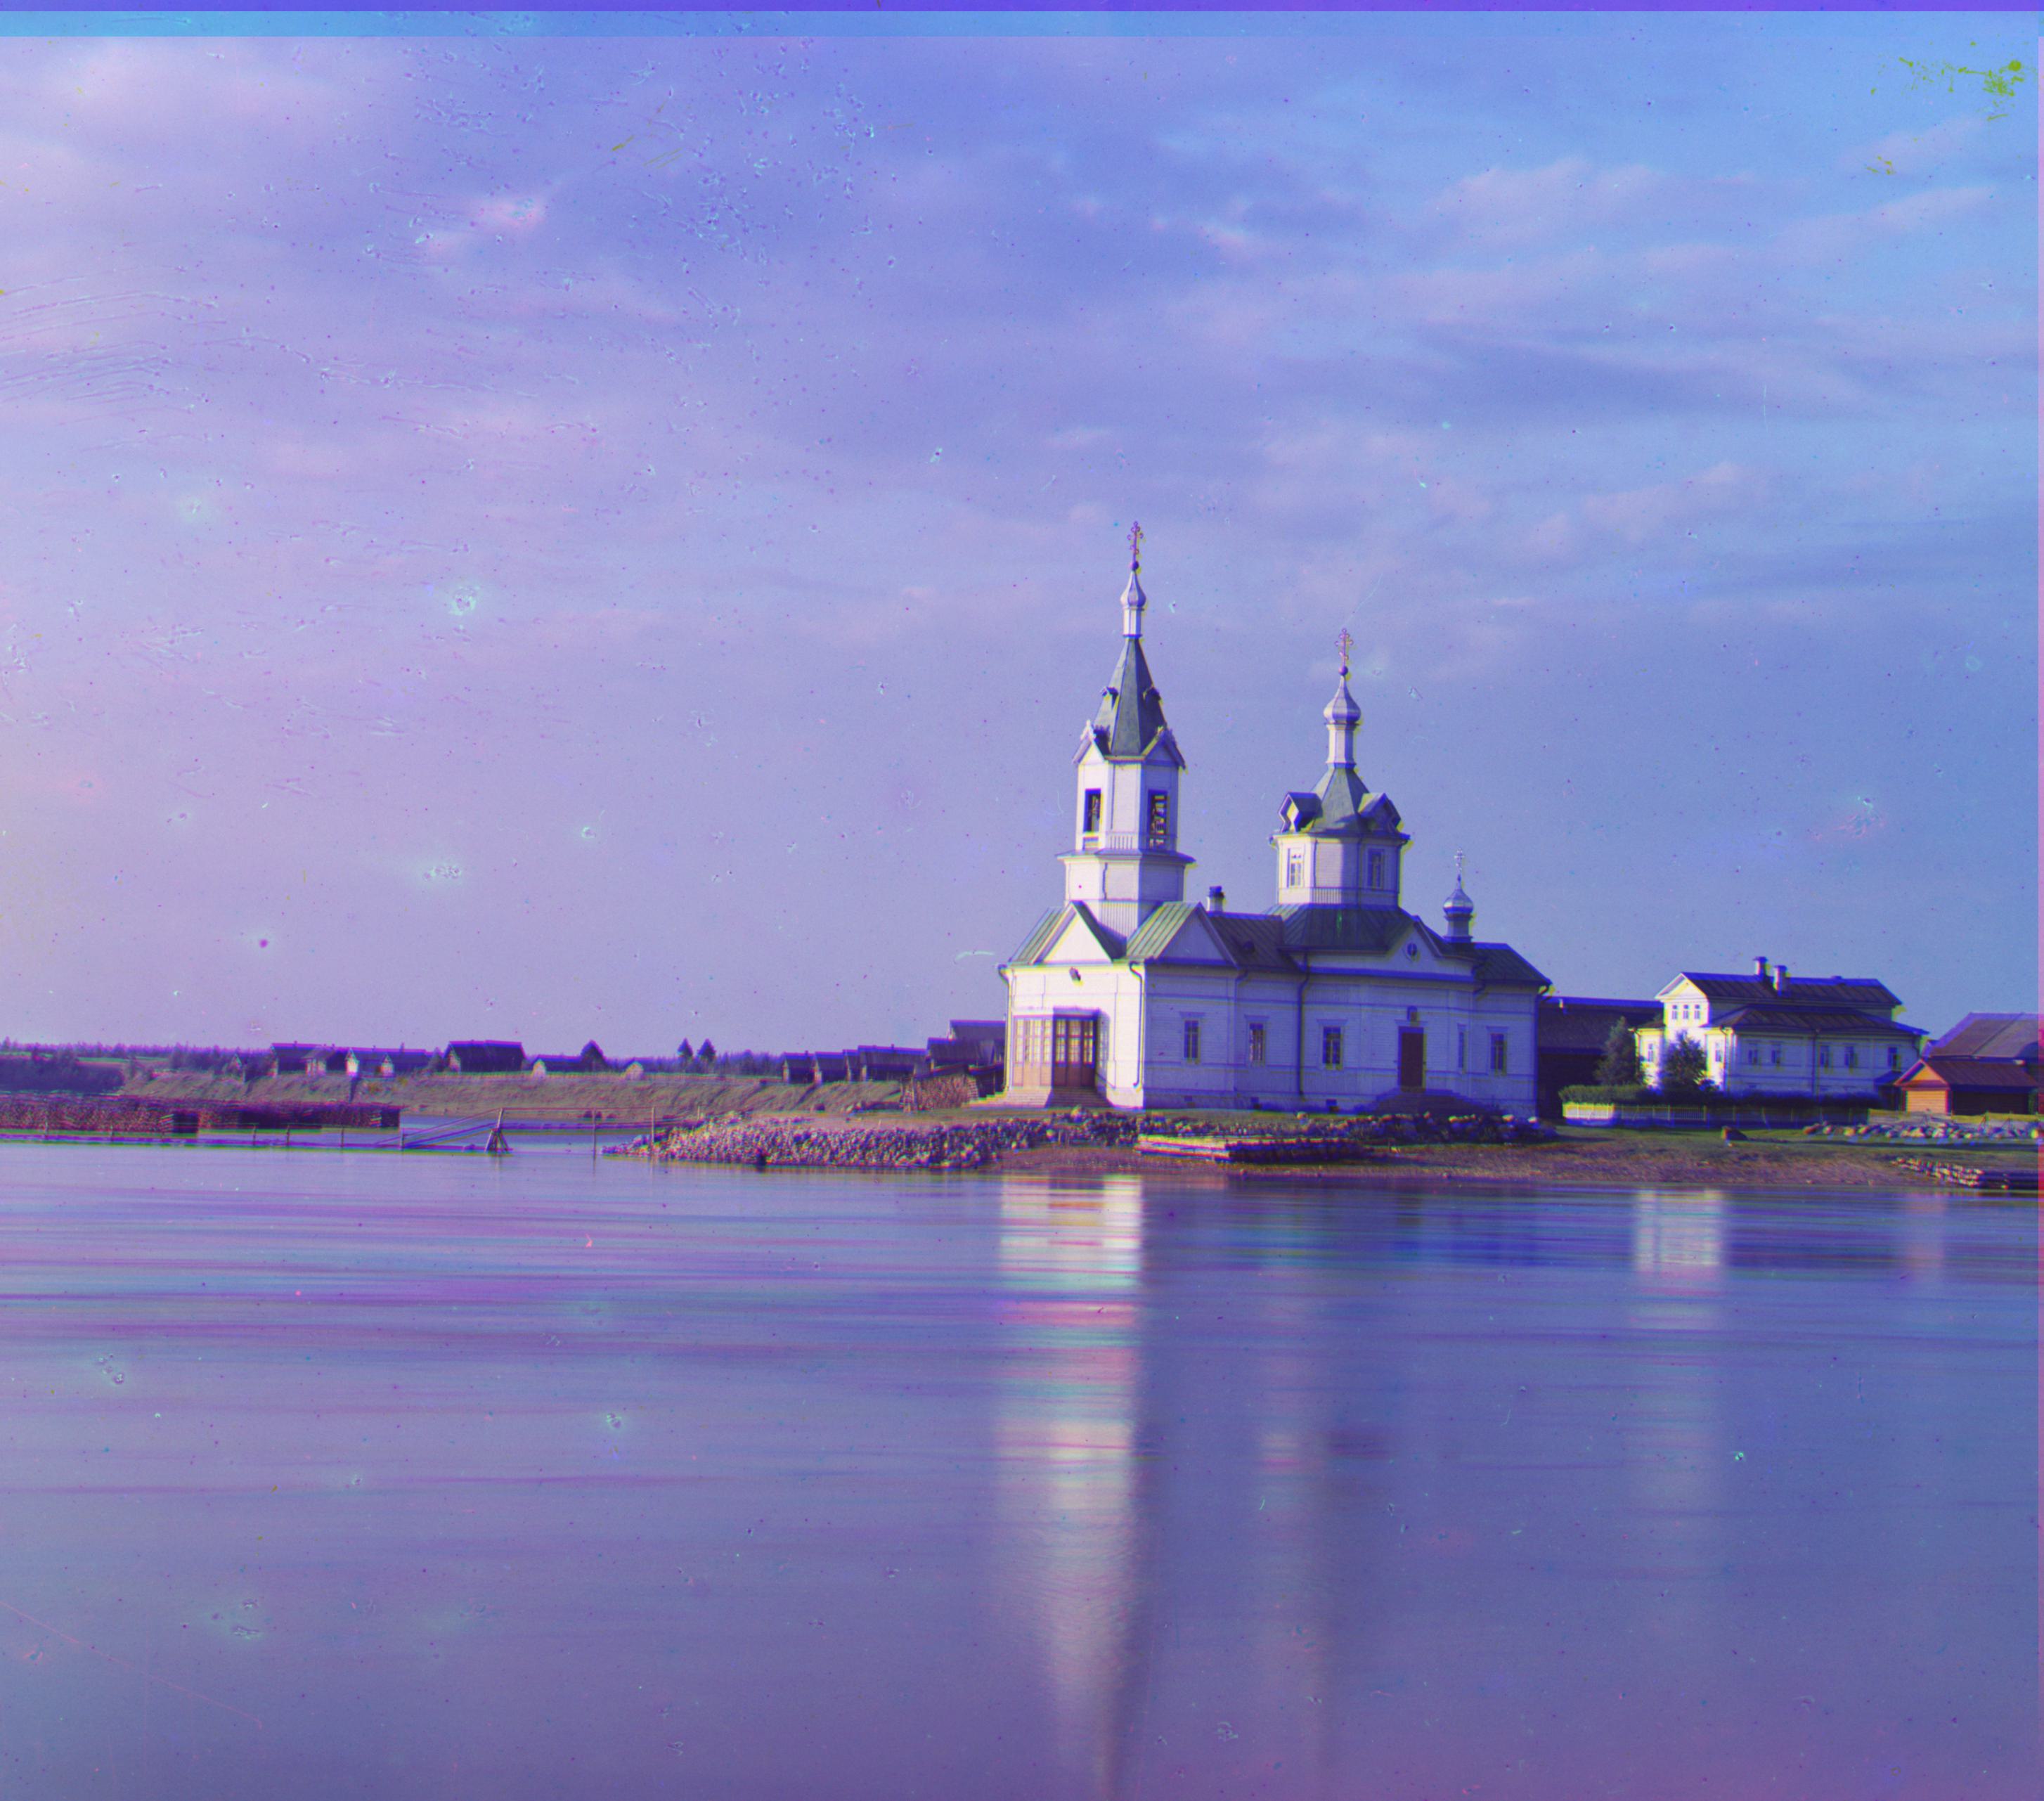
The Prokudin-Gorskii photo collection is a collection of photos taken by Sergey Prokudin-Gorskii before there was color photography. He took identical photos using red, green, and blue filters and imagined that in the future, there would be a method to combine all 3 channels into a single, color photo. Below is an example of the cathedral.jpg red, green, and blue frames:

In this project, I was tasked with combining each RGB channel into a color photo using computational methods (primarily using the numpy and skimage libraries). The main challenge in combining the images is aligning them on top of each other.
The Library of Congress also performed the same task, you can see their results here.
Single Scale Alignment
For images with small dimensions, it is sufficient to align each channel by trying every possible translation within a search space of [-15, 15] pixels. For each translation, we calculate the similarity between the translated image (the image we want to align) and the base image (the image we want to align to) using some metric.
I experimented with 4 metrics:
- Sum squared difference (SSD)
- Euclidean distance
- Normalized cross-correlation (NCC)
- Structural similarity
Because they all had similar results for single scale alignment, I arbitrarily chose SSD as my metric for both single scale and multi-scale alignment.
Before aligning the images, I also cropped all image channels so that only the inner 80% of the image remains (e.g. 10% is cropped off each end of the height and width).
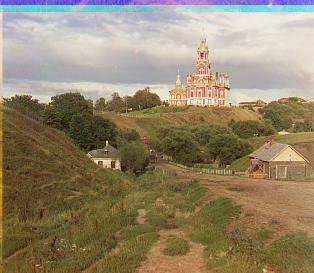
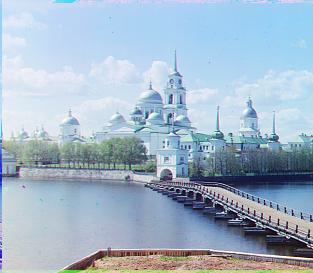
Below are the results for the 3 small .jpg images (cathedral, monastery, and tobolsk):
 |
 |
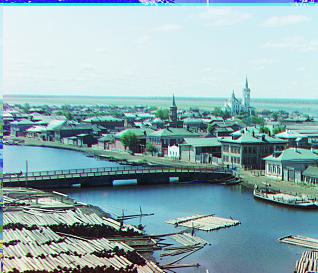 |
Here were the calculated displacements (I aligned all 3 images to the blue (B) channel):
| Image Name | G Displacement | R Displacement |
|---|---|---|
| cathedral.jpg | (2, 5) | (3, 12) |
| monastery.jpg | (2, -3) | (2, 3) |
| tobolsk.jpg | (3, 3) | (3, 6) |
Multi-Scale Alignment (Image Pyramid)
For images with larger dimensions, it would take too long to do an exhaustive search on the original image. To solve this problem, I used an image pyramid. Specifically this was the algorithm I used:
- Read in the RGB channels the same way as single scale alignment
- Crop the channels the same way as single scale alignment
- Align the R and G channels to the B channel using an image pyramid:
- Rescale the original images by a factor of 1/16
- Use single scale alignment on the rescaled images over a search space of [-15, 15] pixels to find the best displacement
- Rescale the rescaled image by a factor of 2
- Use single scale alignment on the rescaled image over a search space of [-2, 2] pixels (centered at the current best displacement) to find the best displacement
- Repeat steps 3.3 - 3.4 until the rescaled image reaches the same size as the original image
- Use the final optimal displacement to translate the original image
np.dstackthe aligned RGB channels to form the final colorized image the same way as single scale alignment
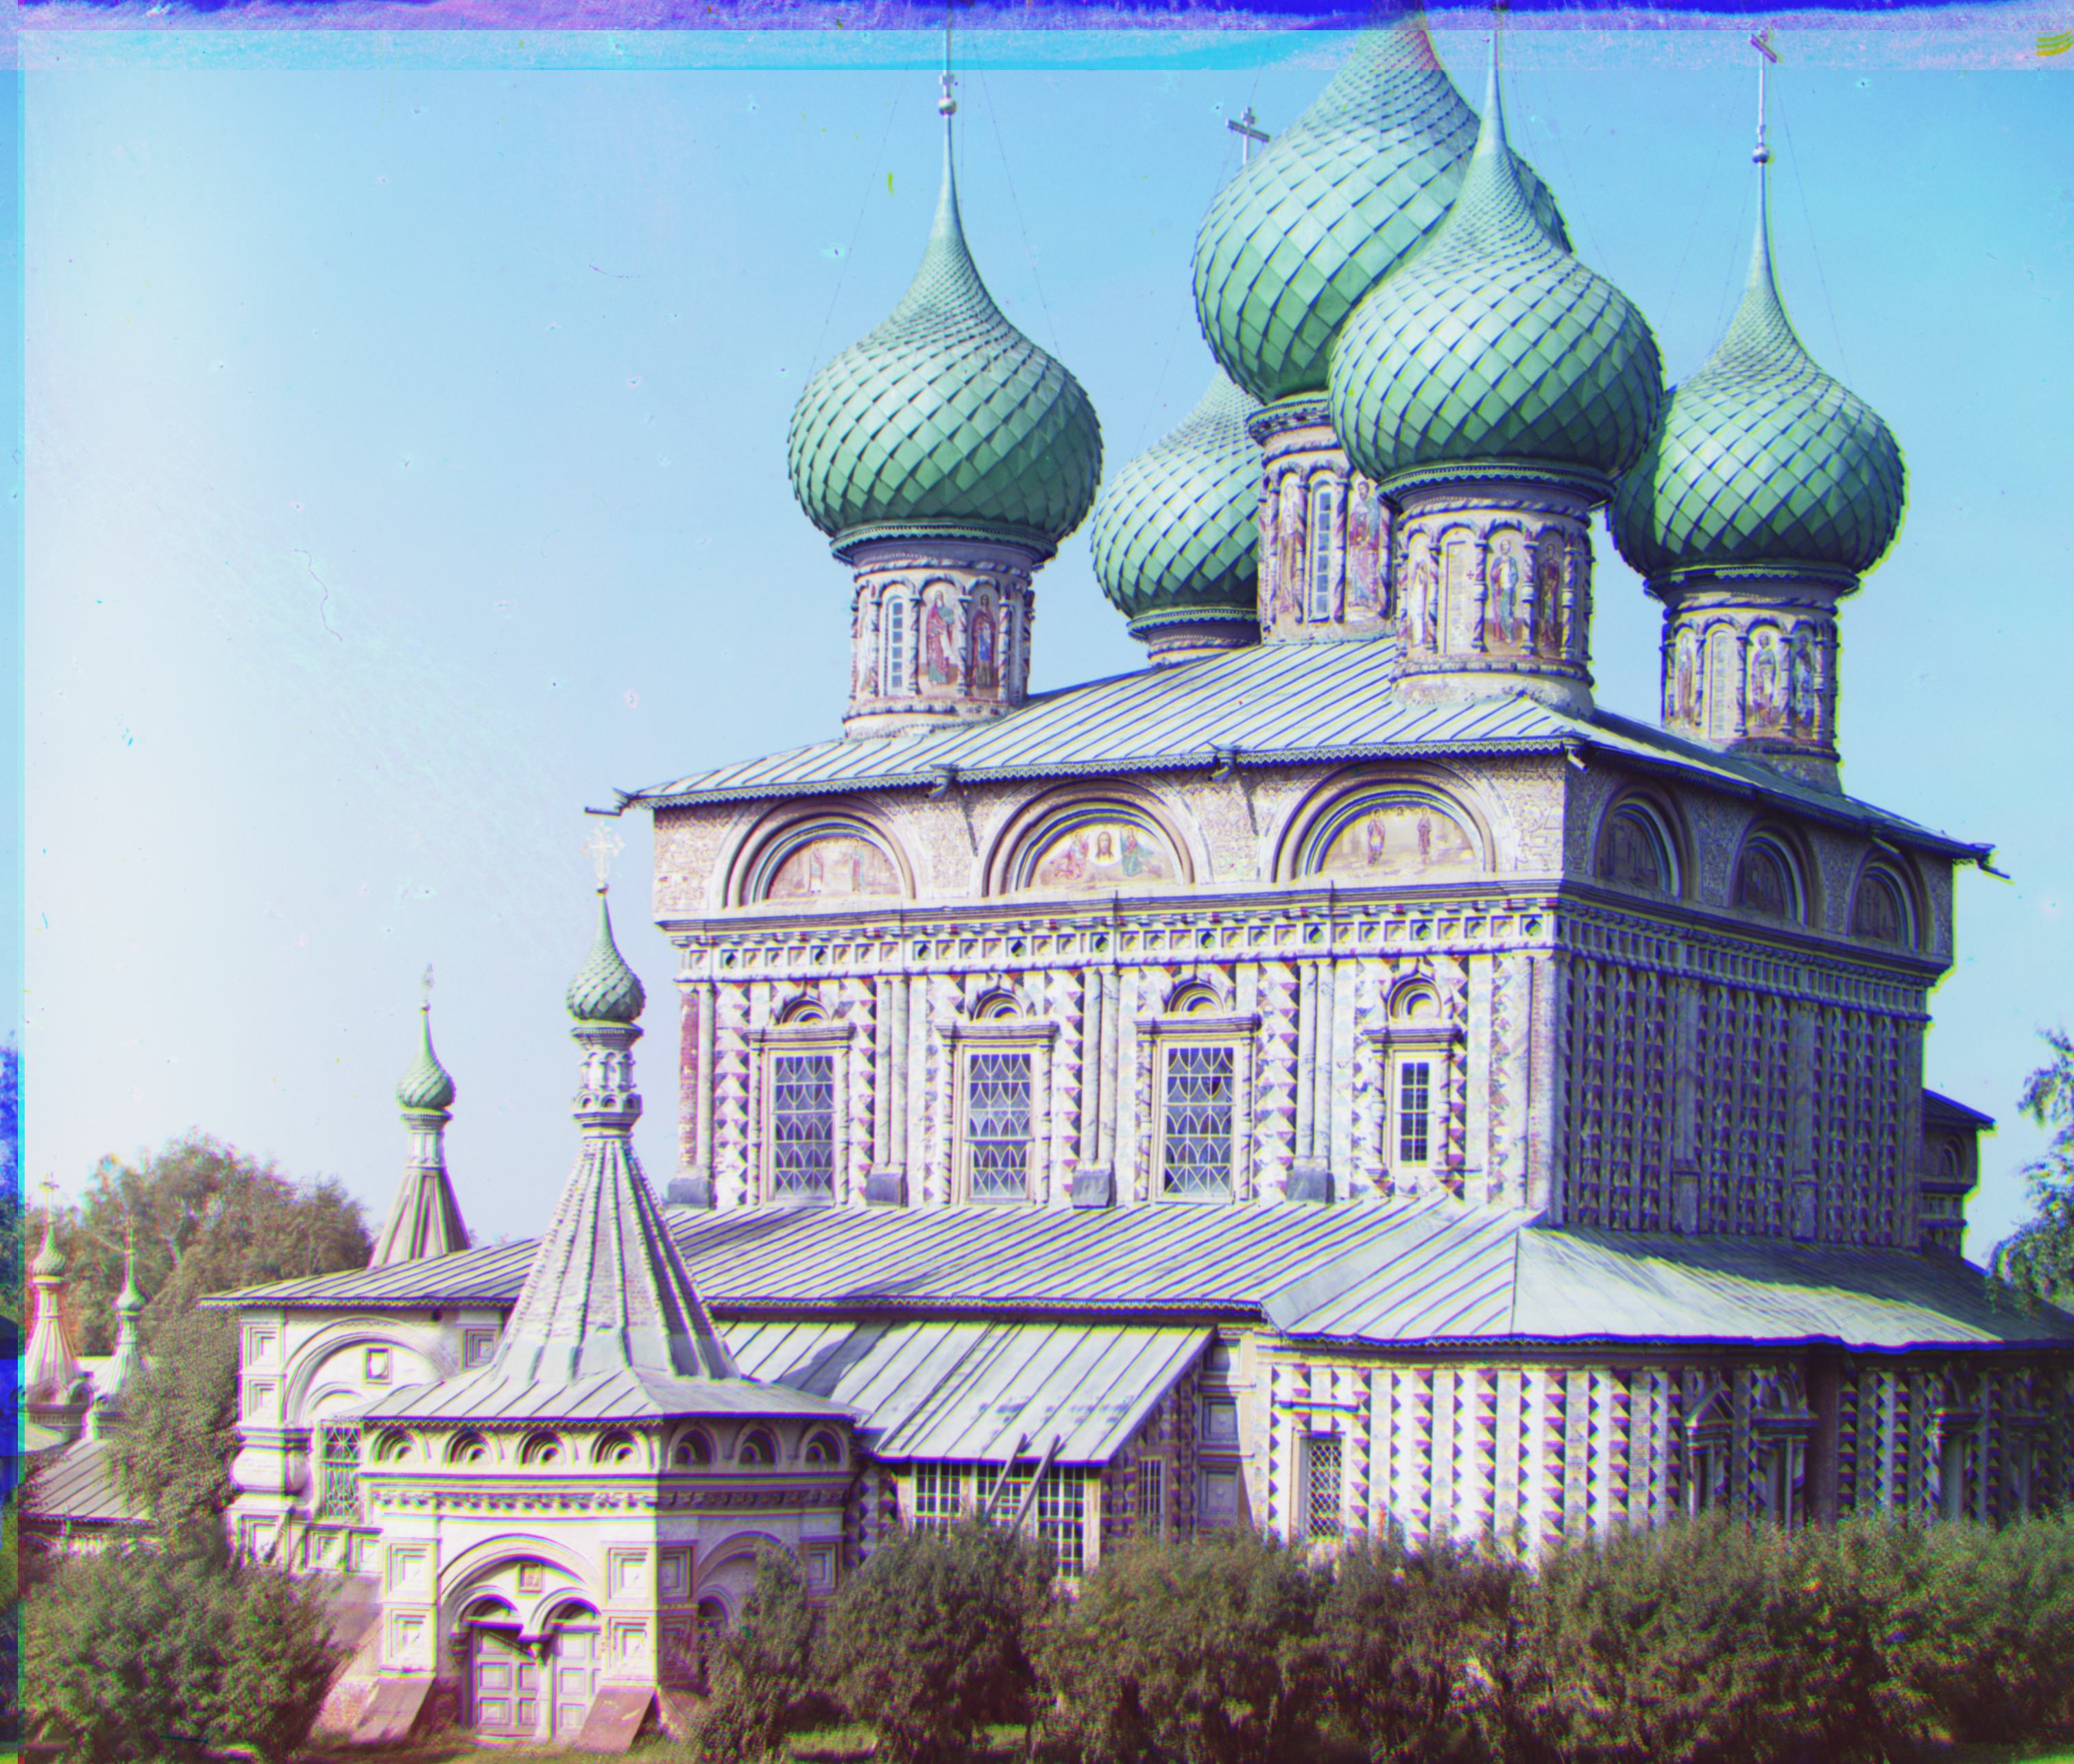
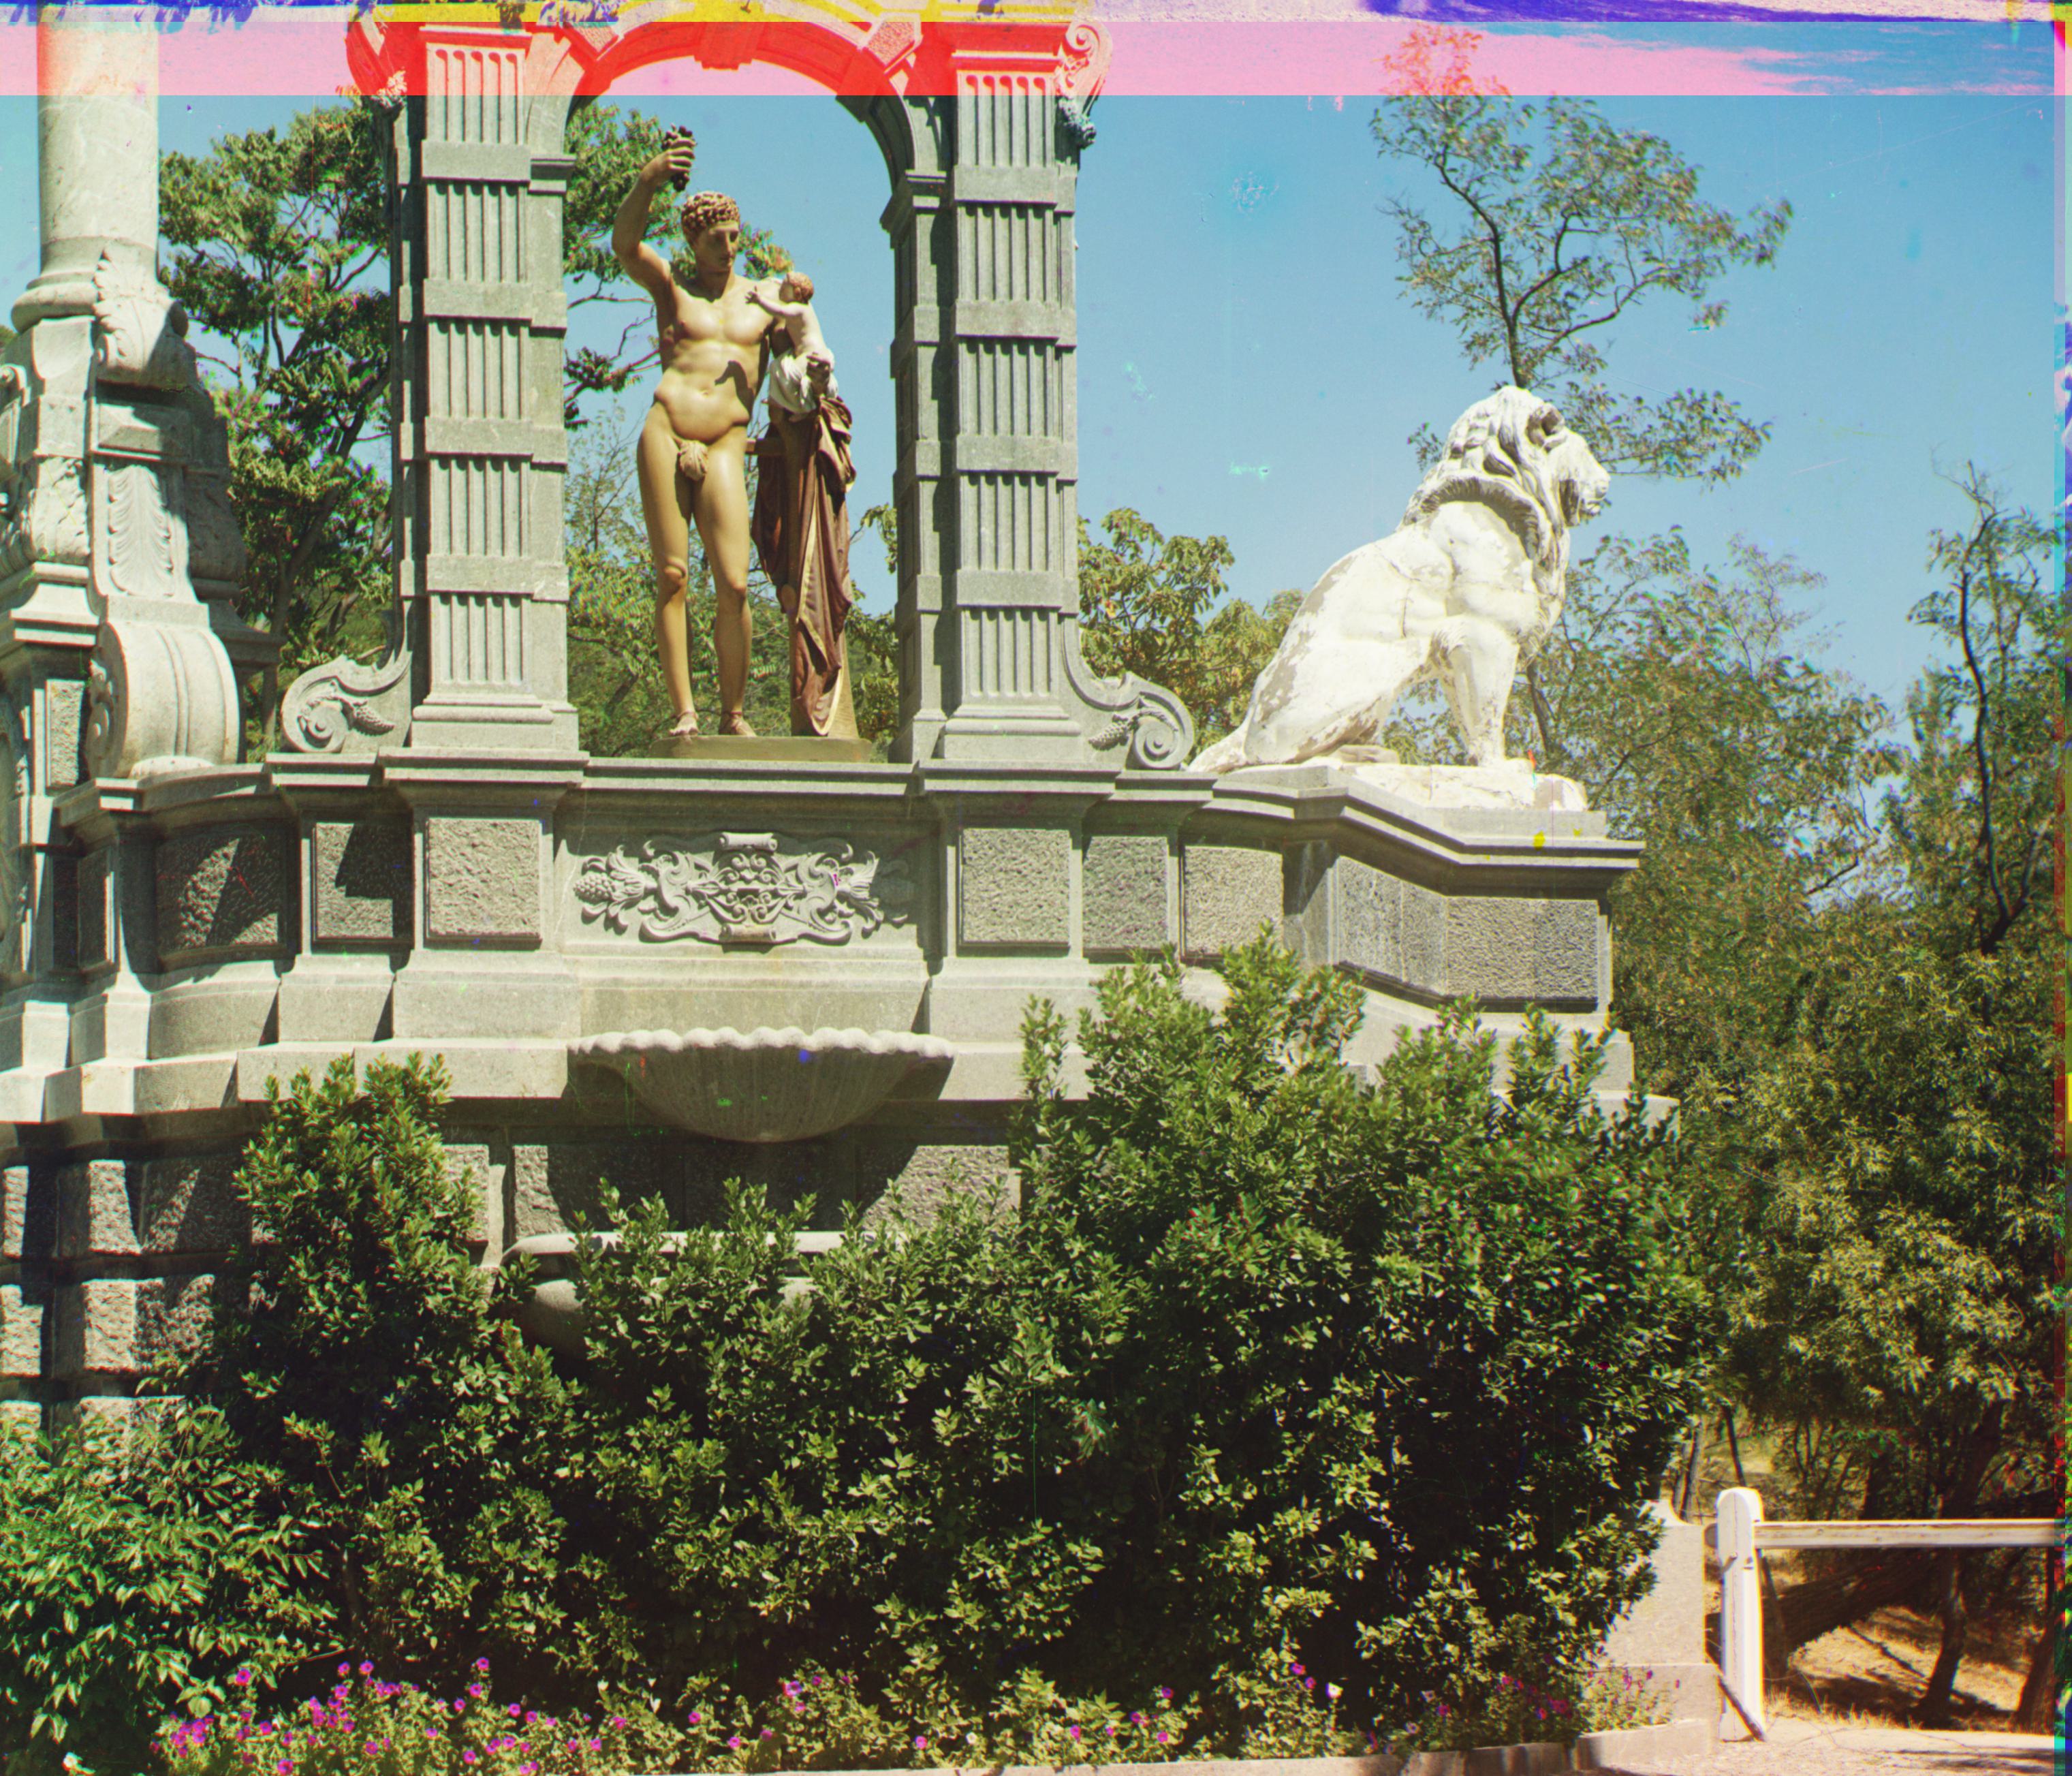
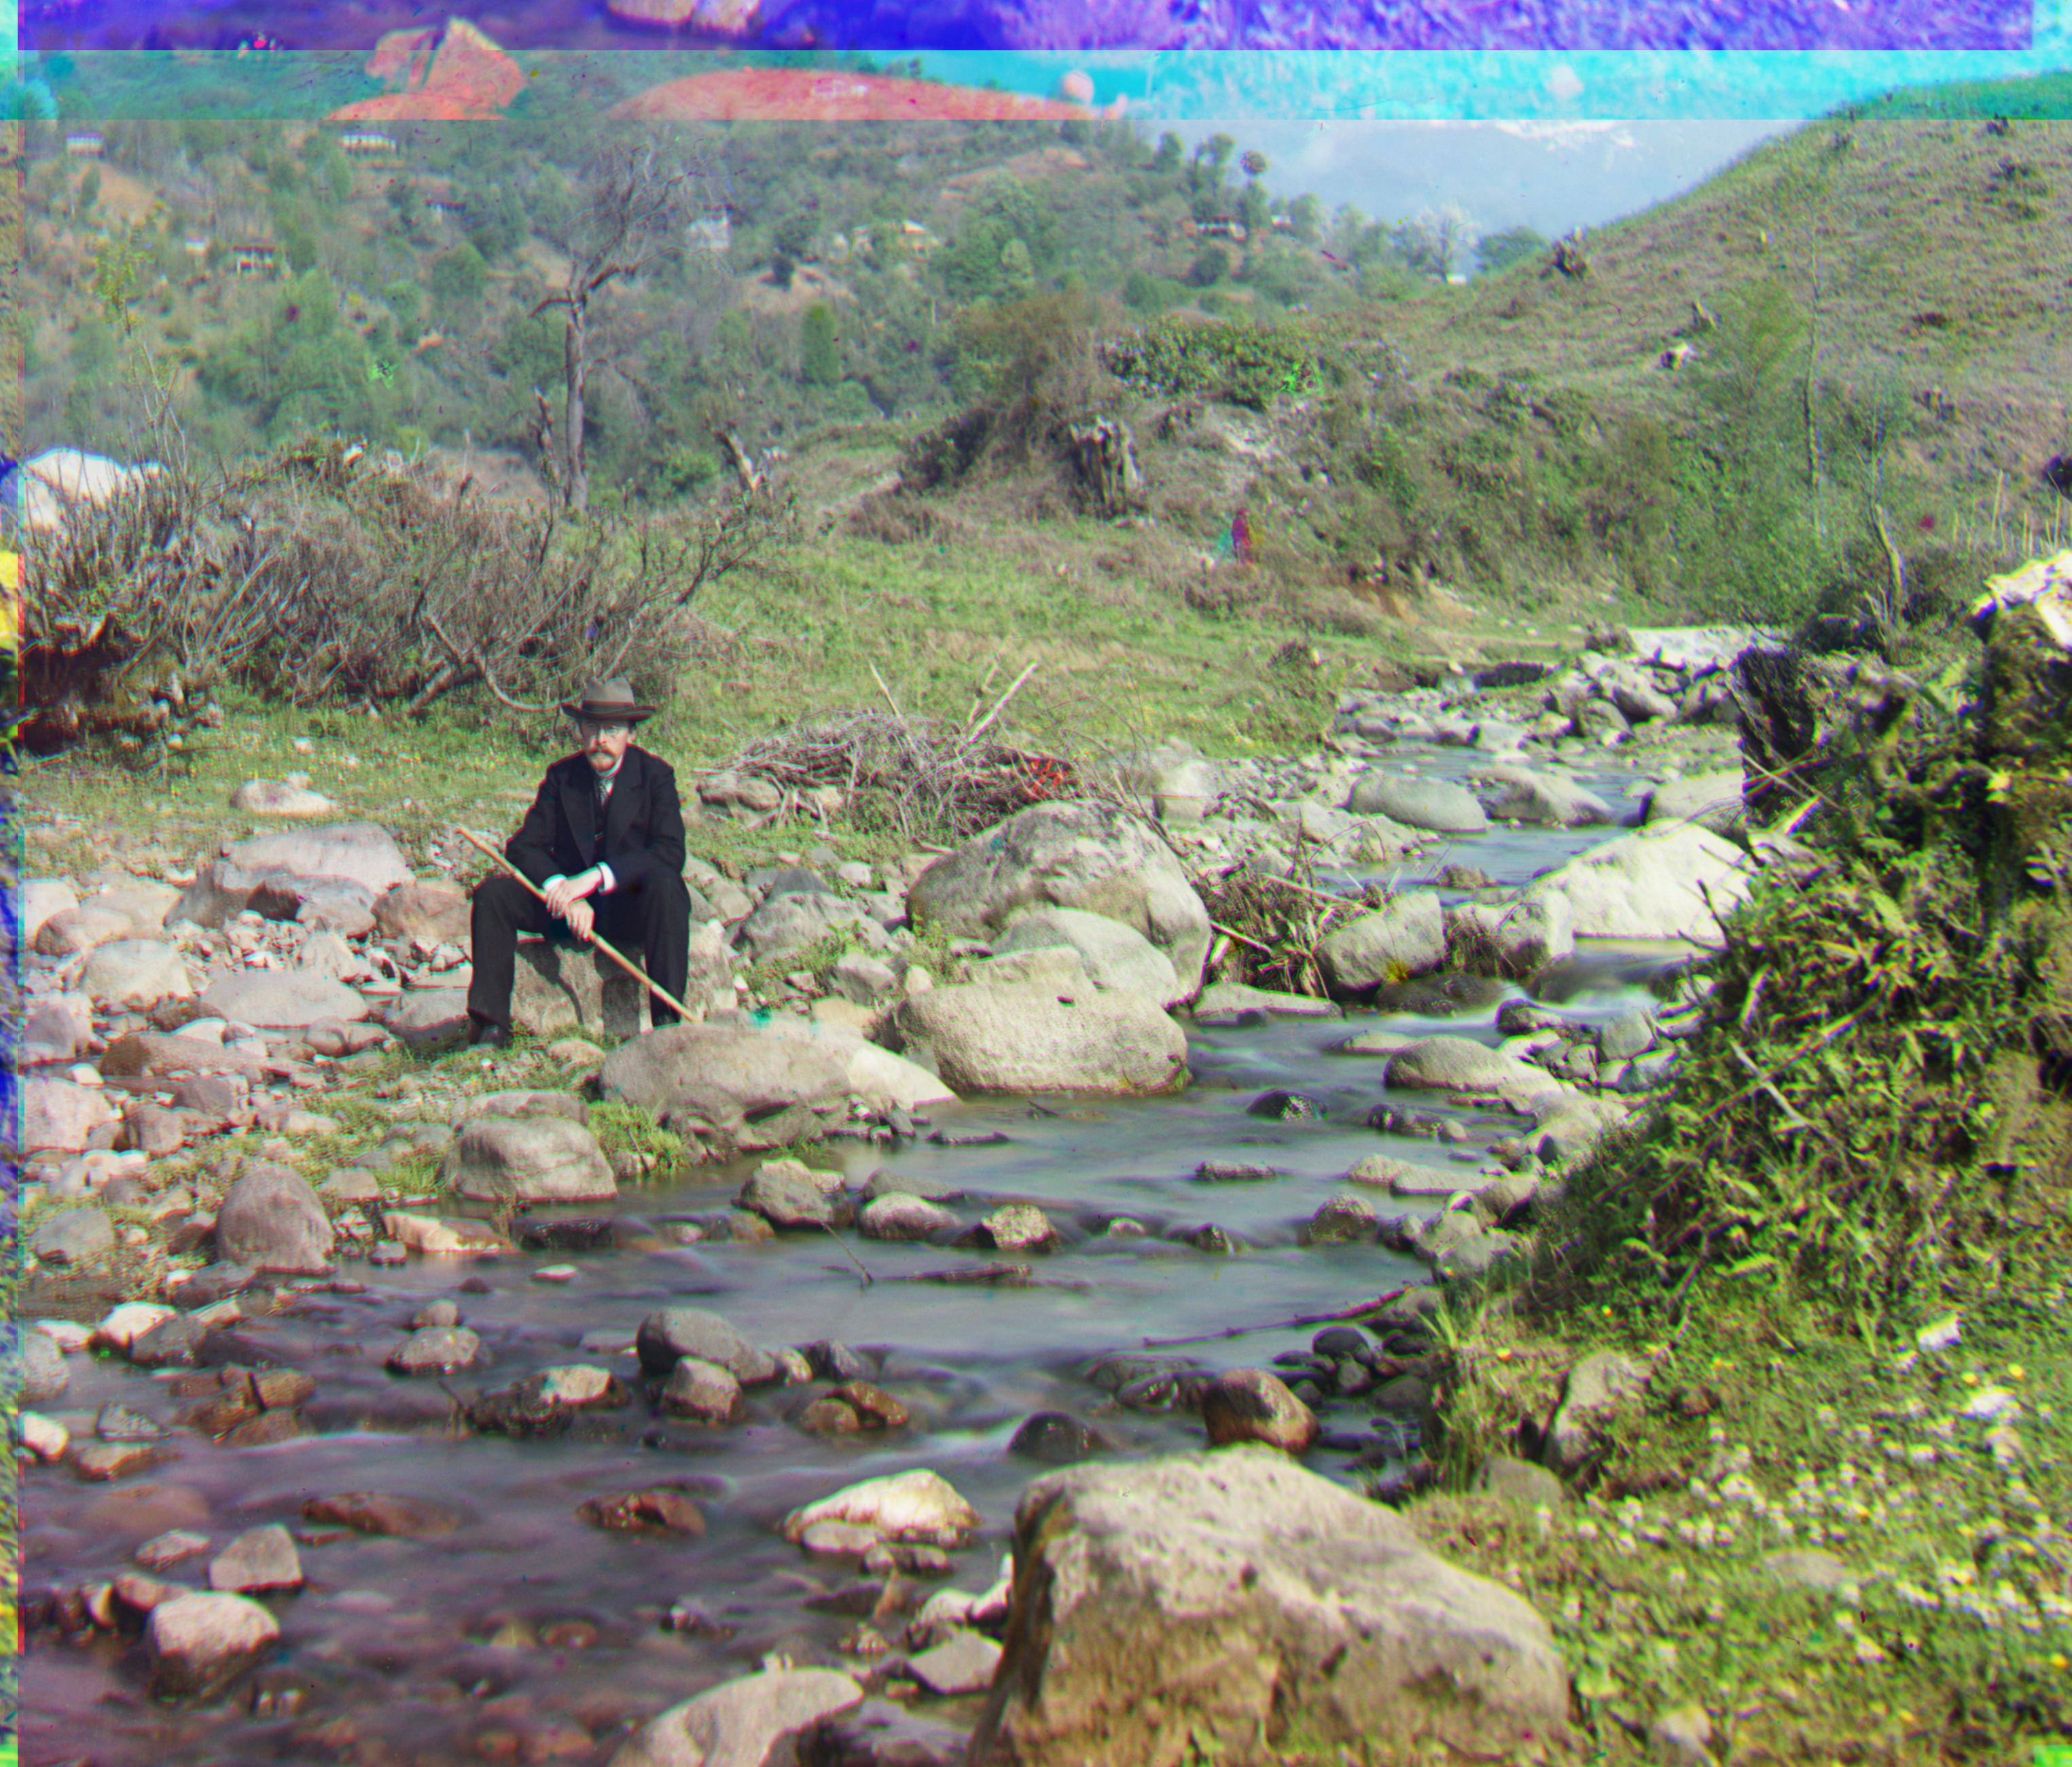
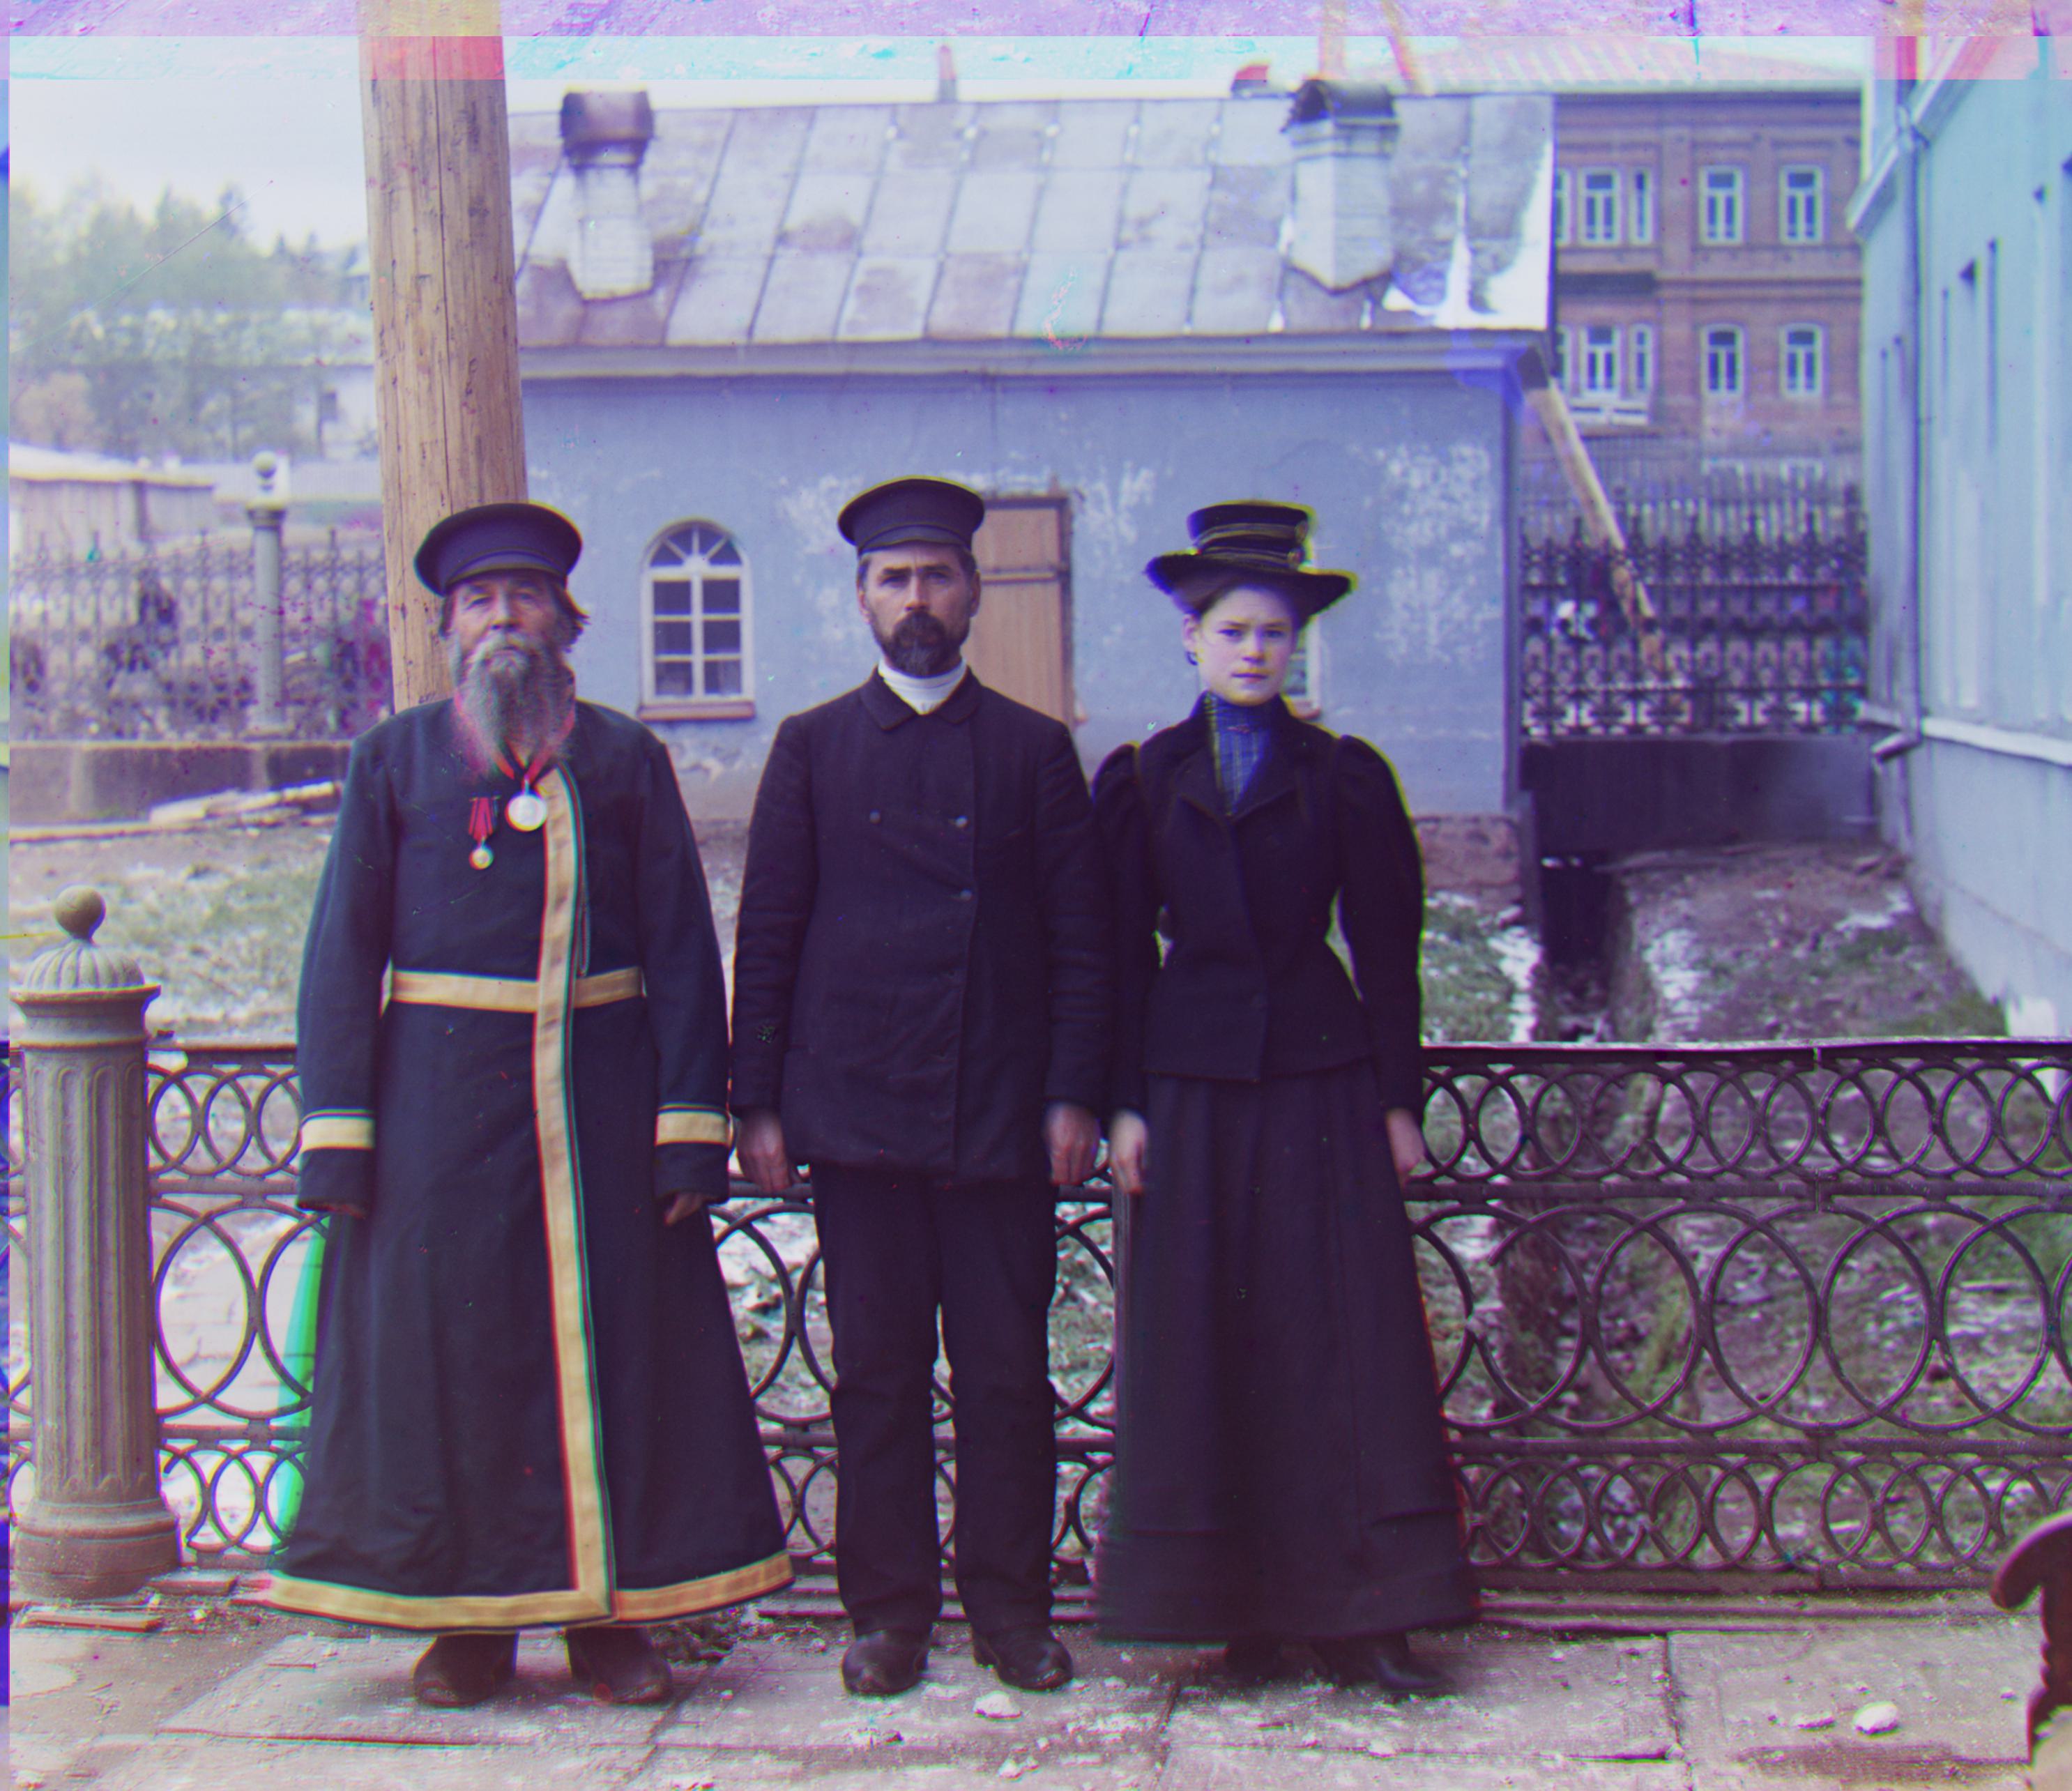
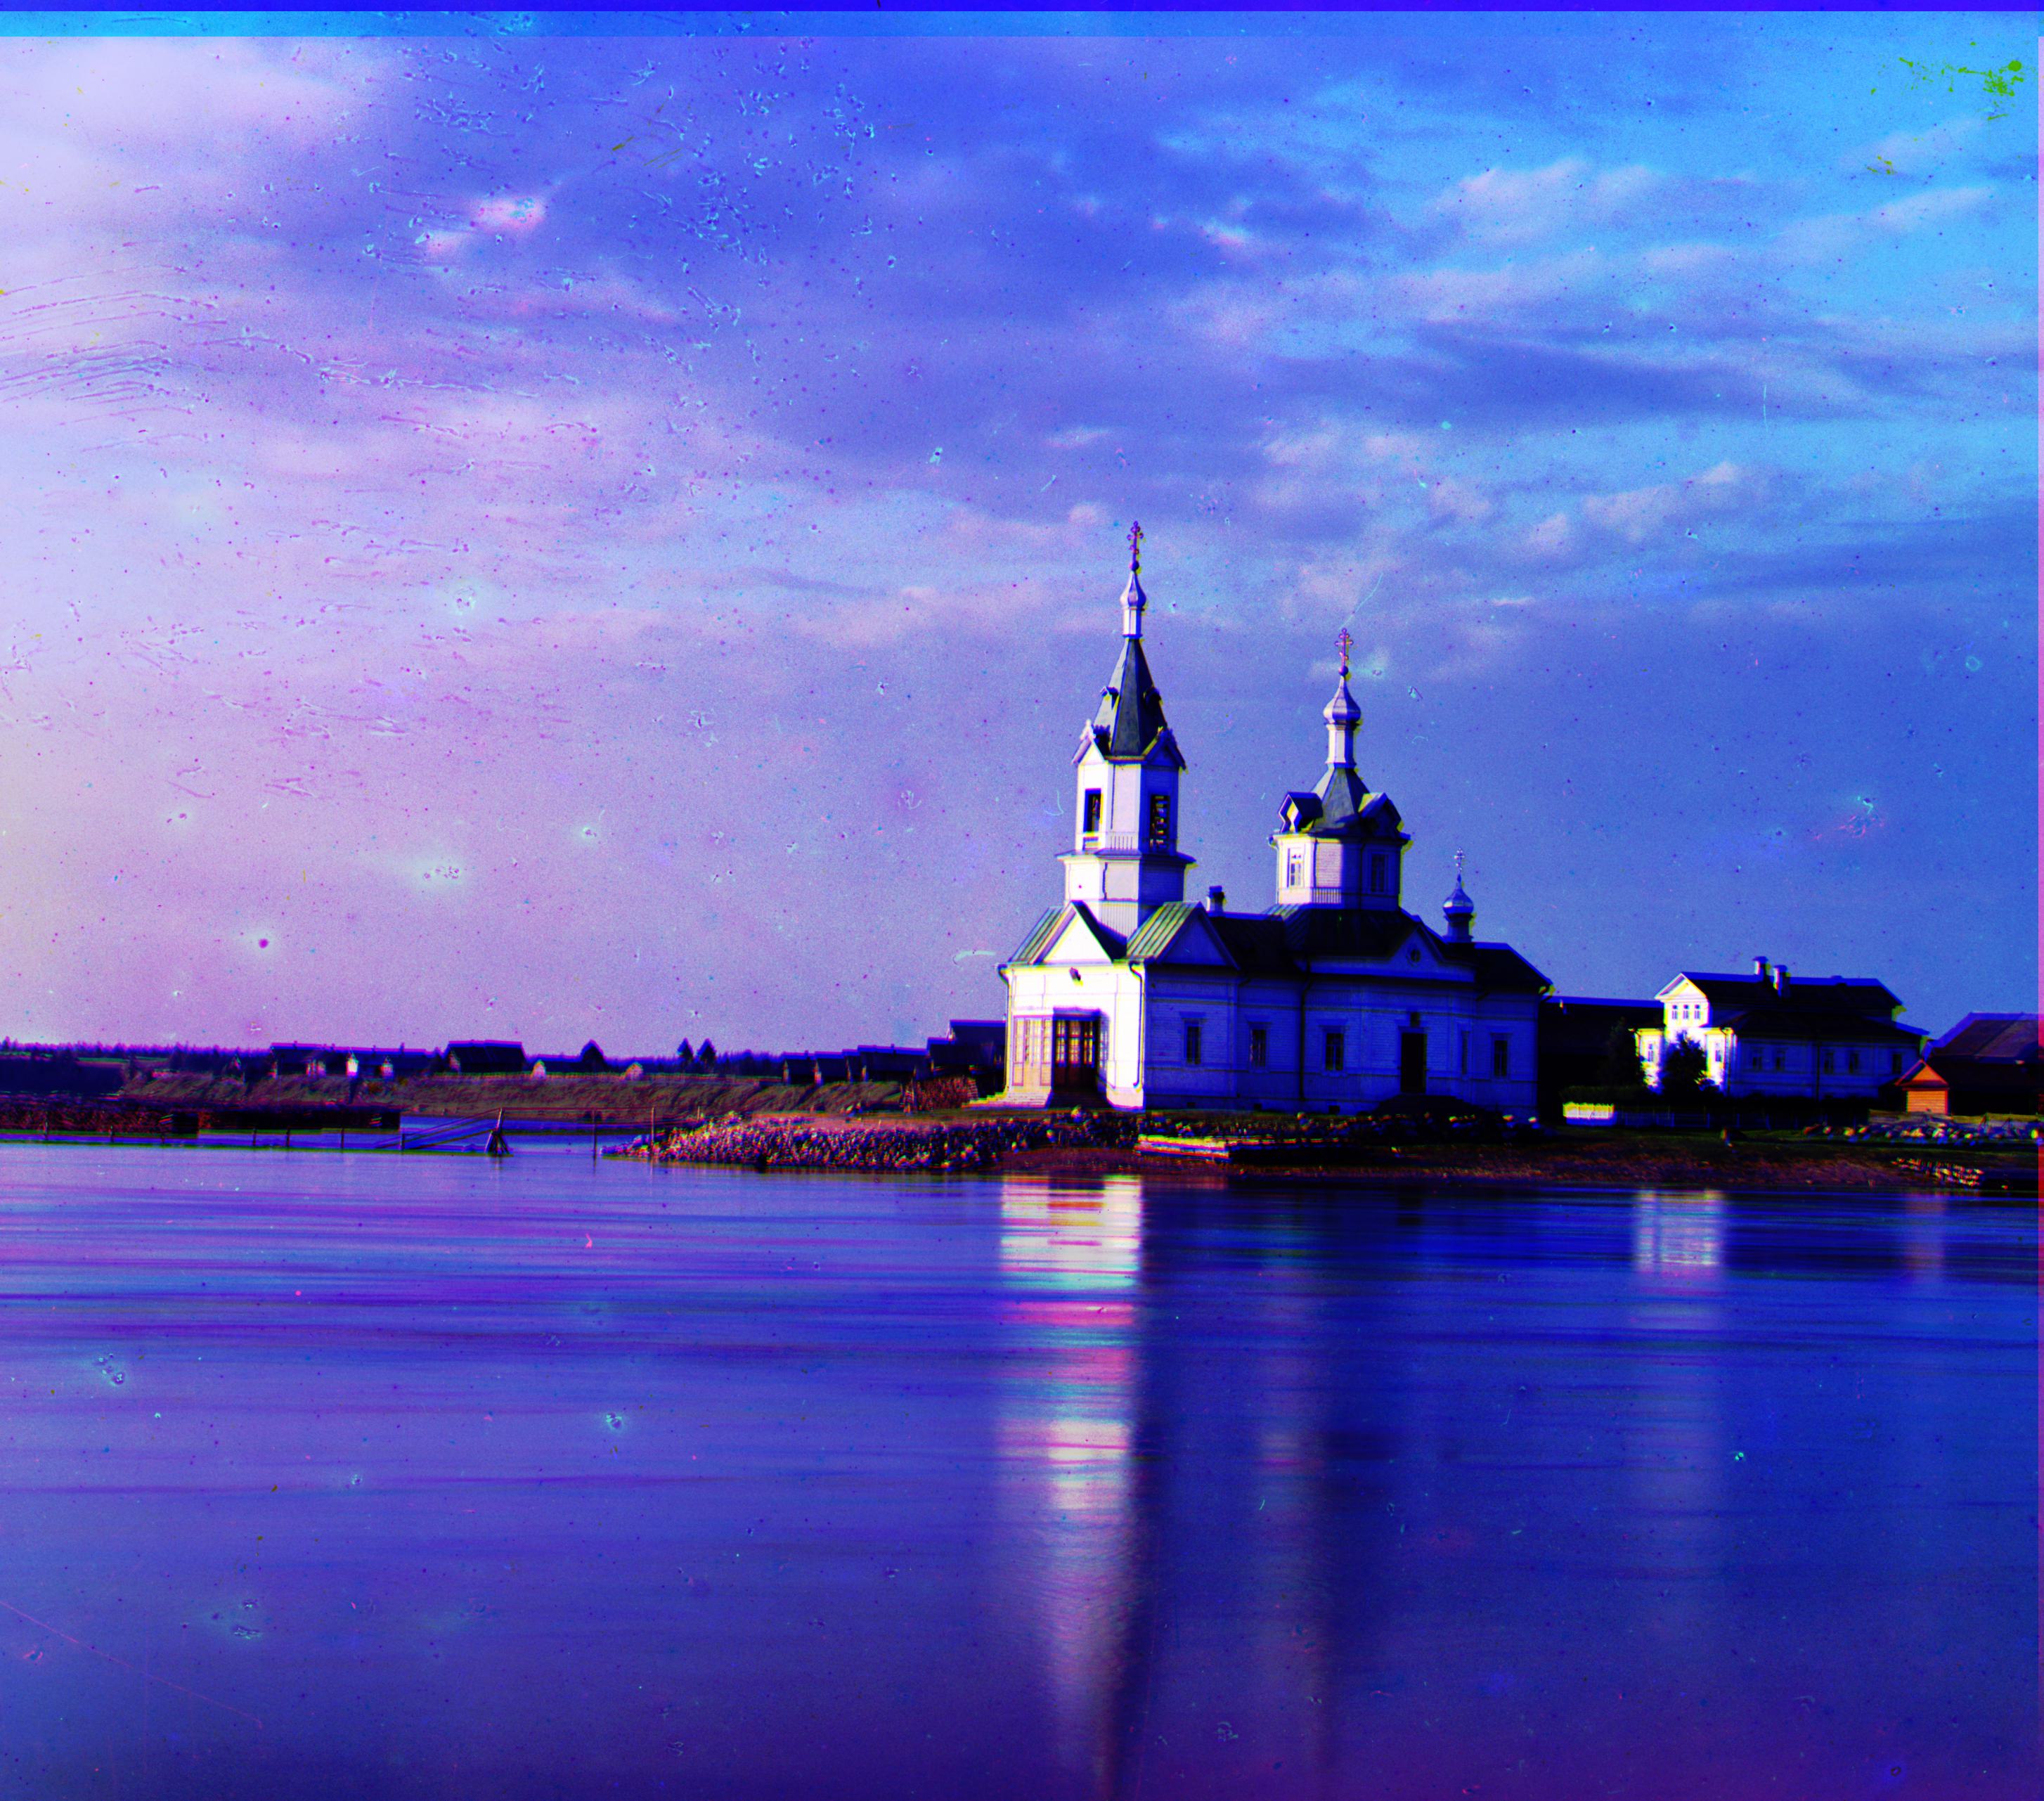
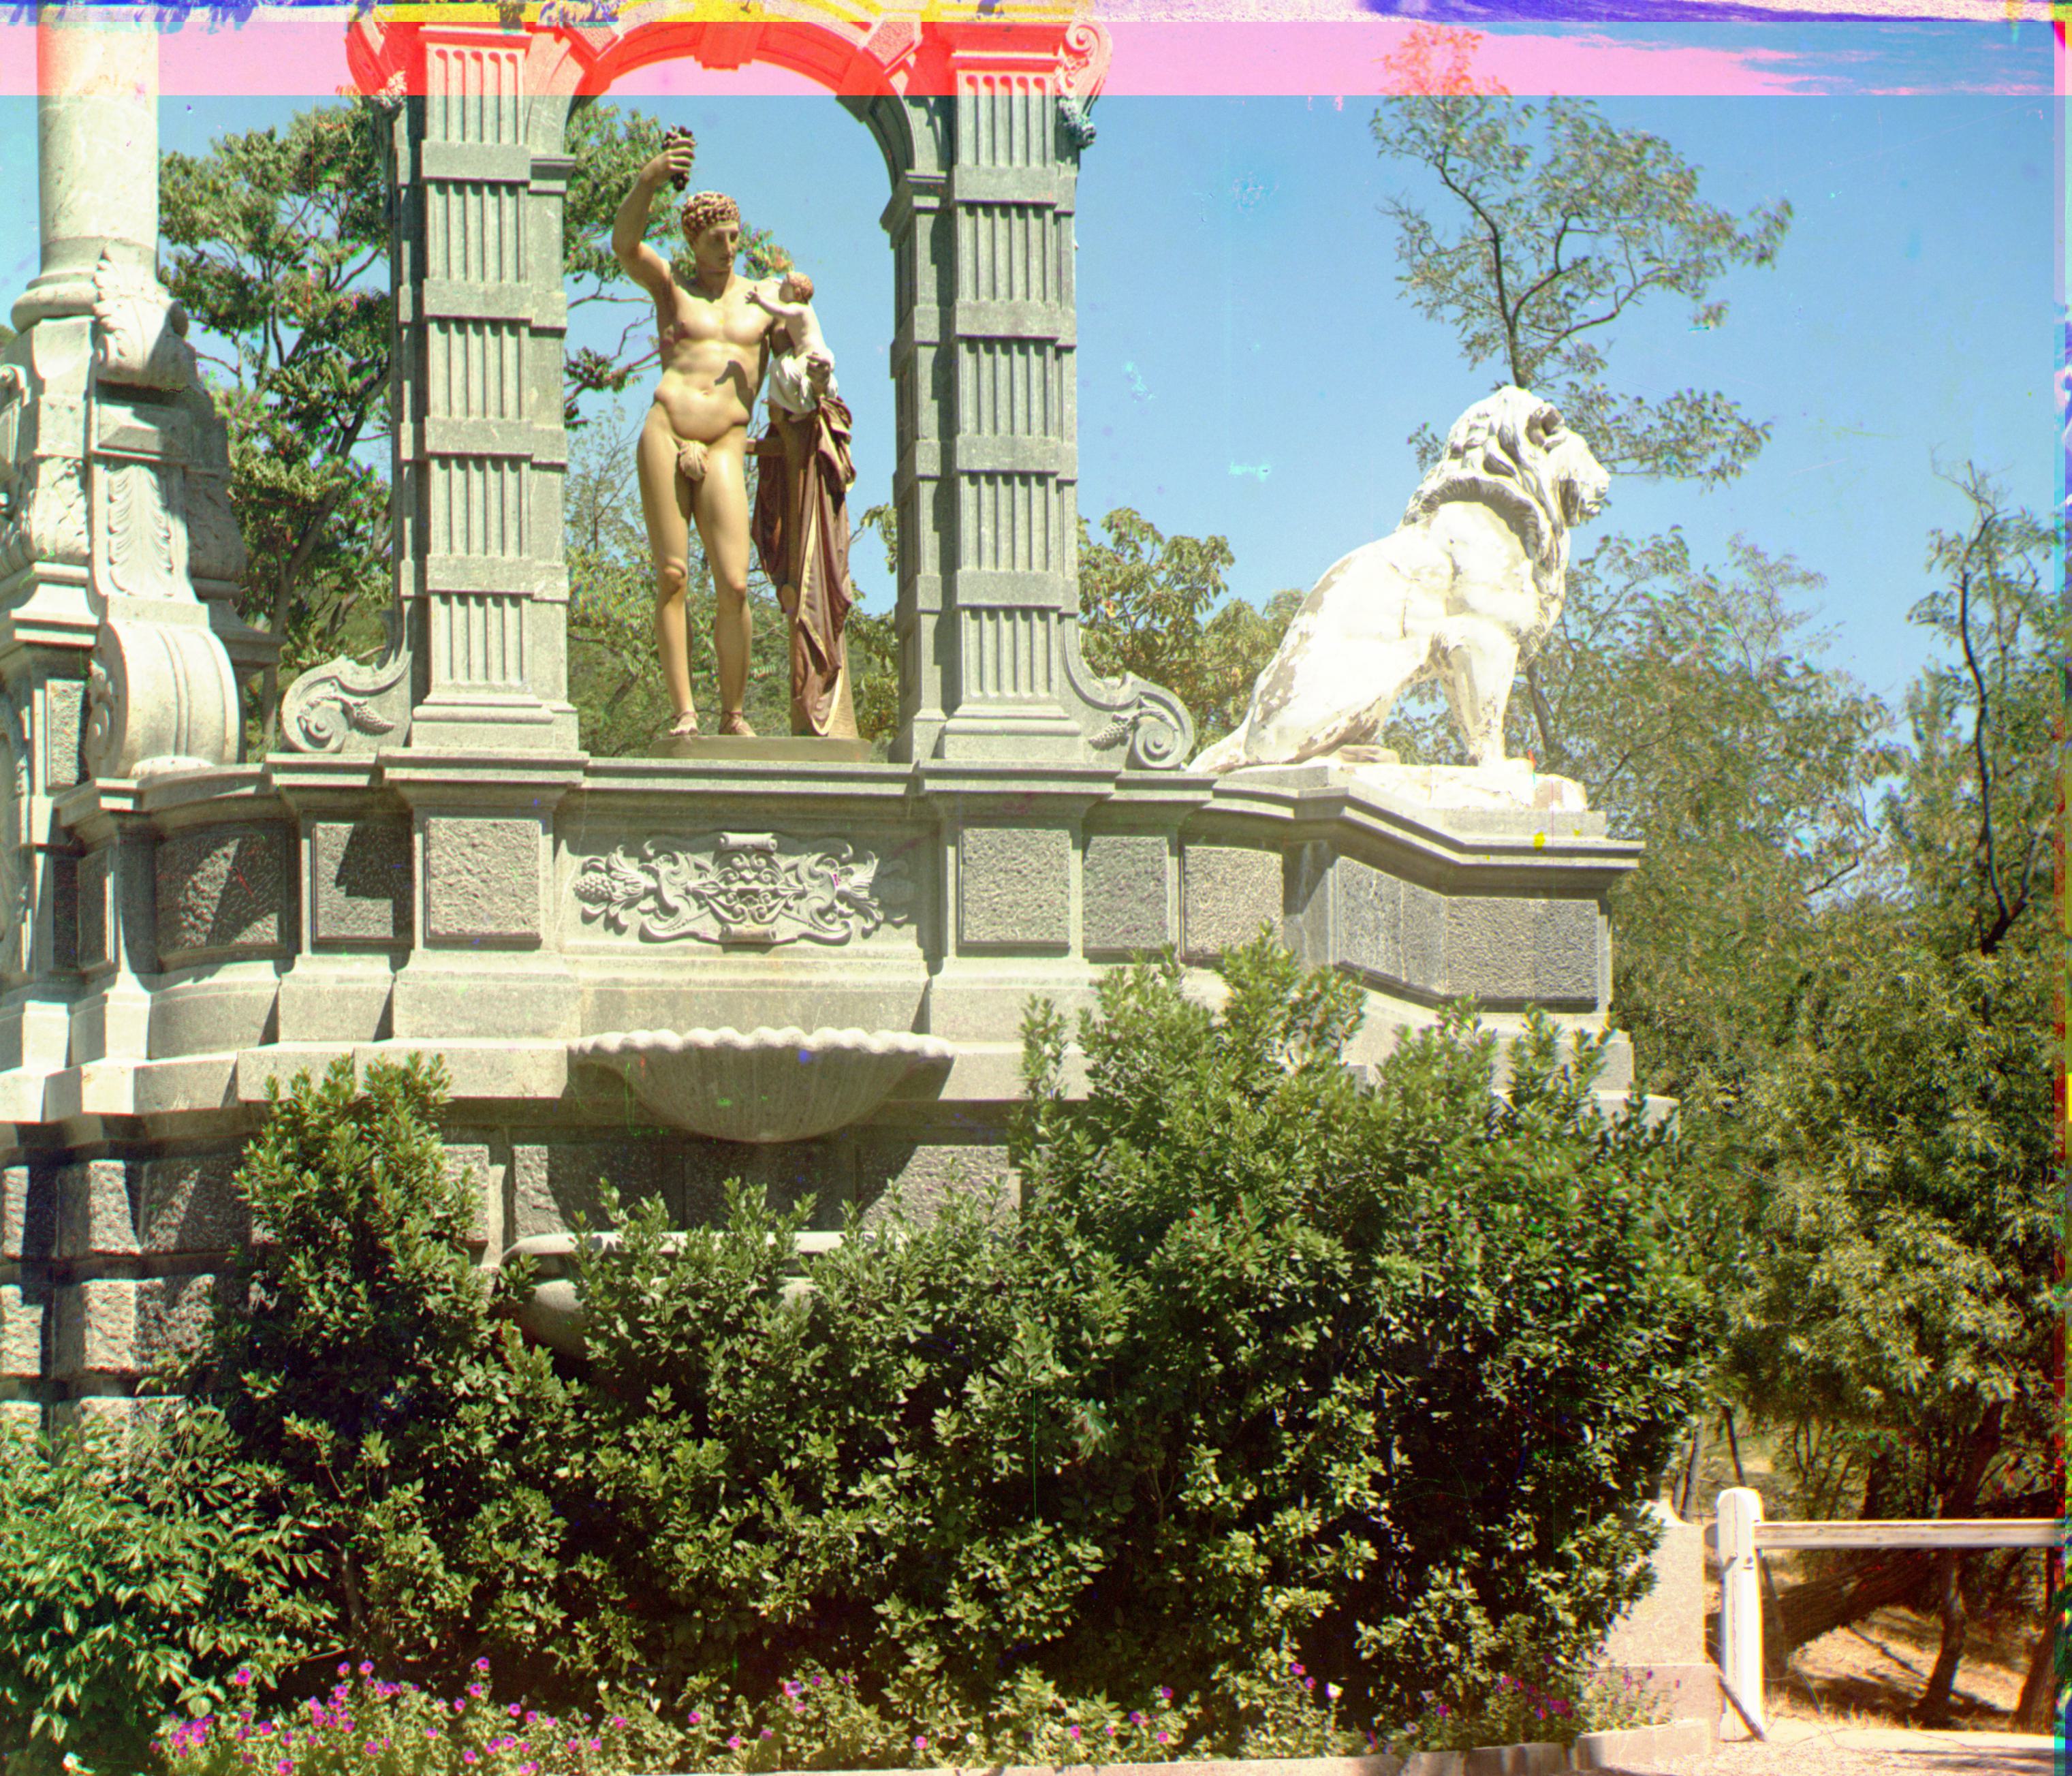
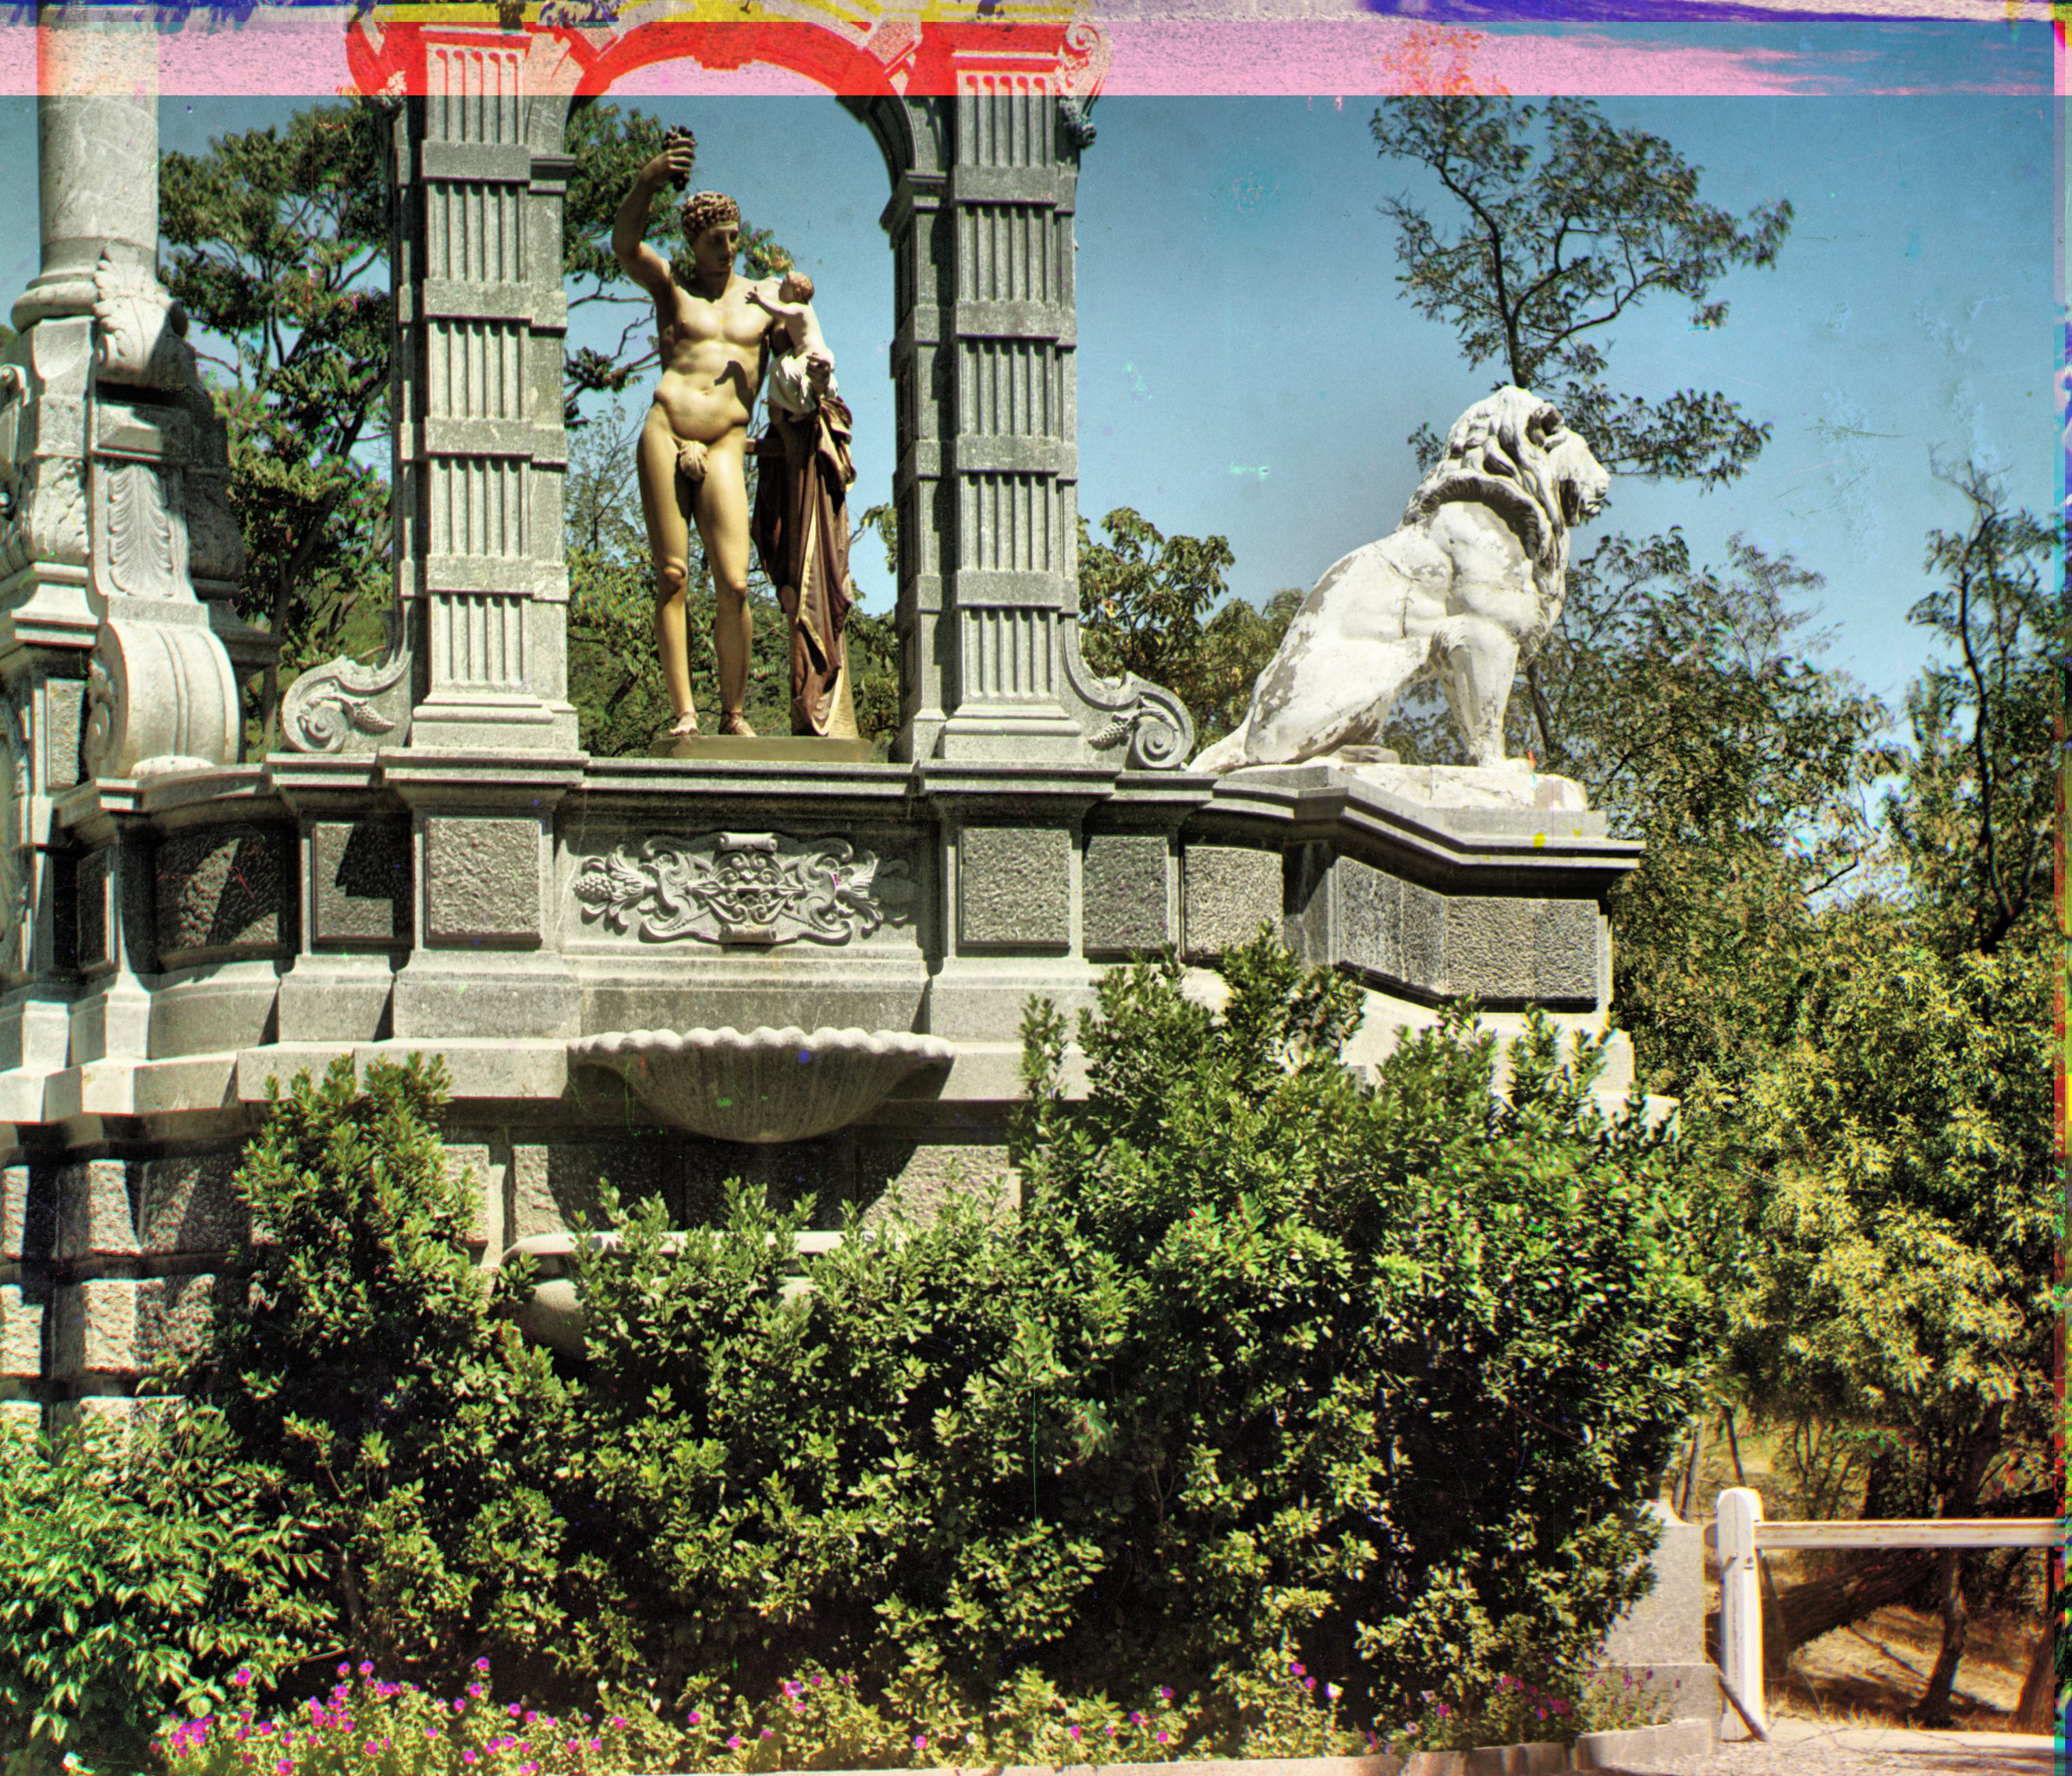
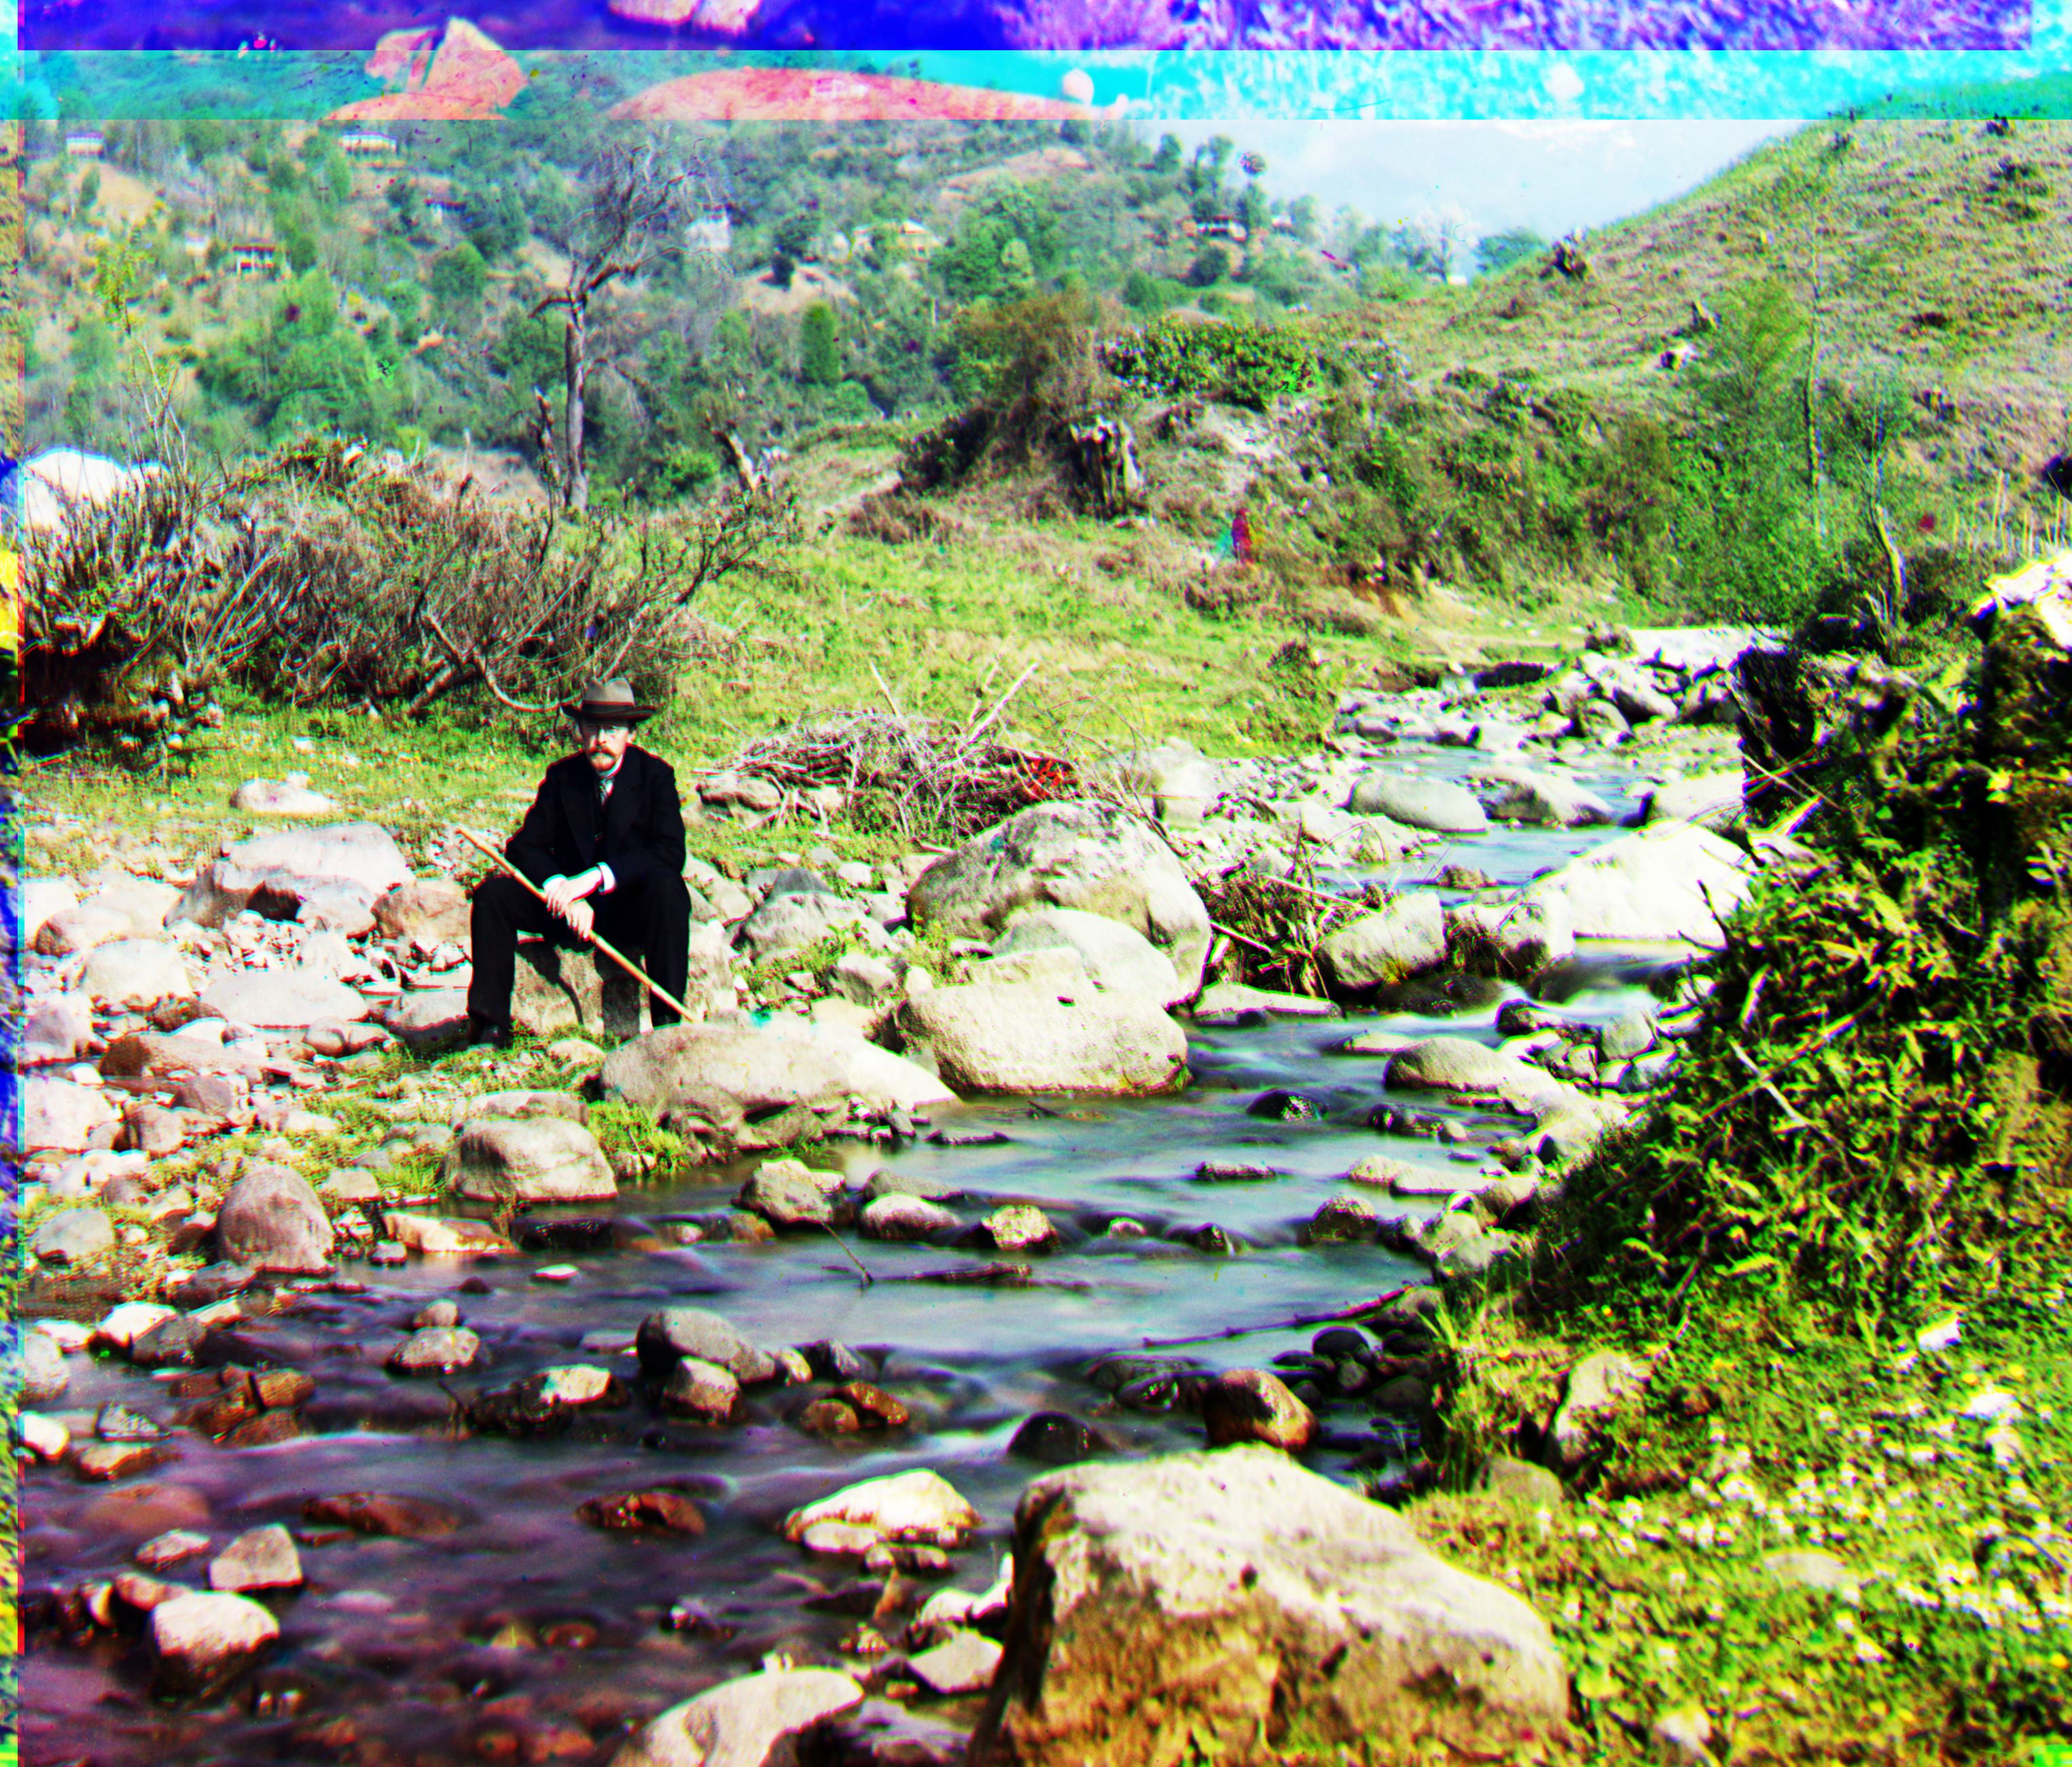
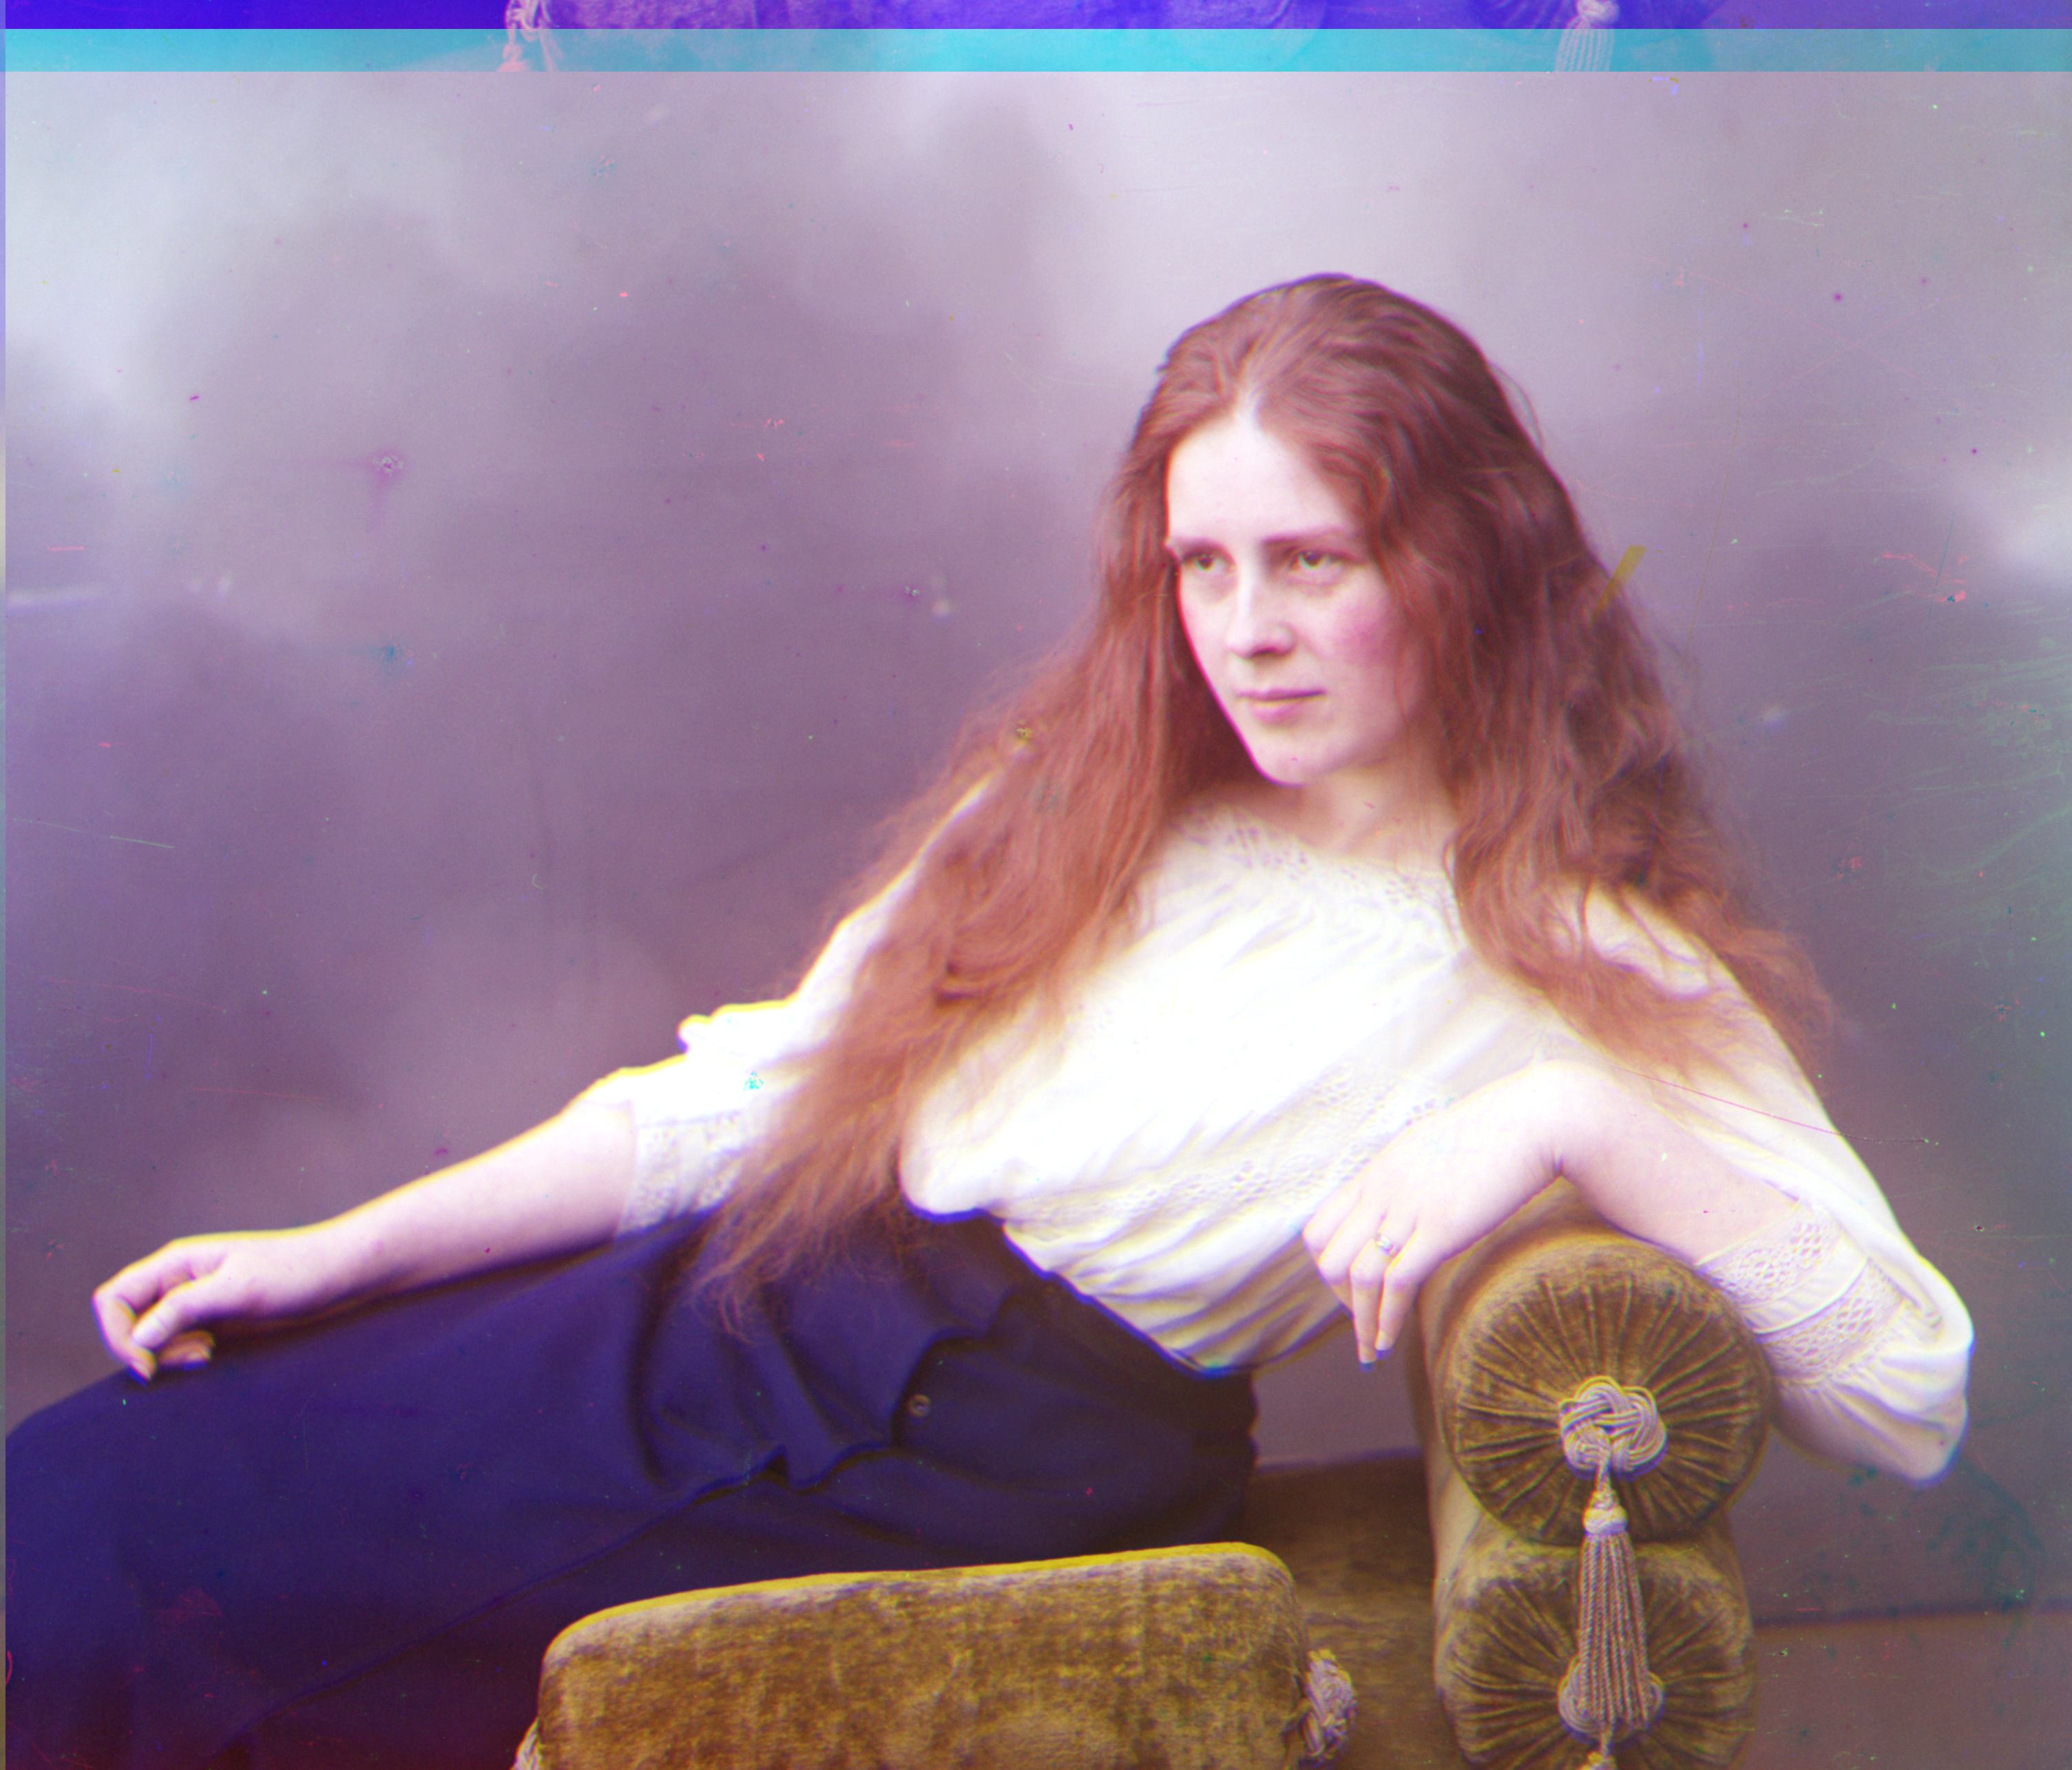
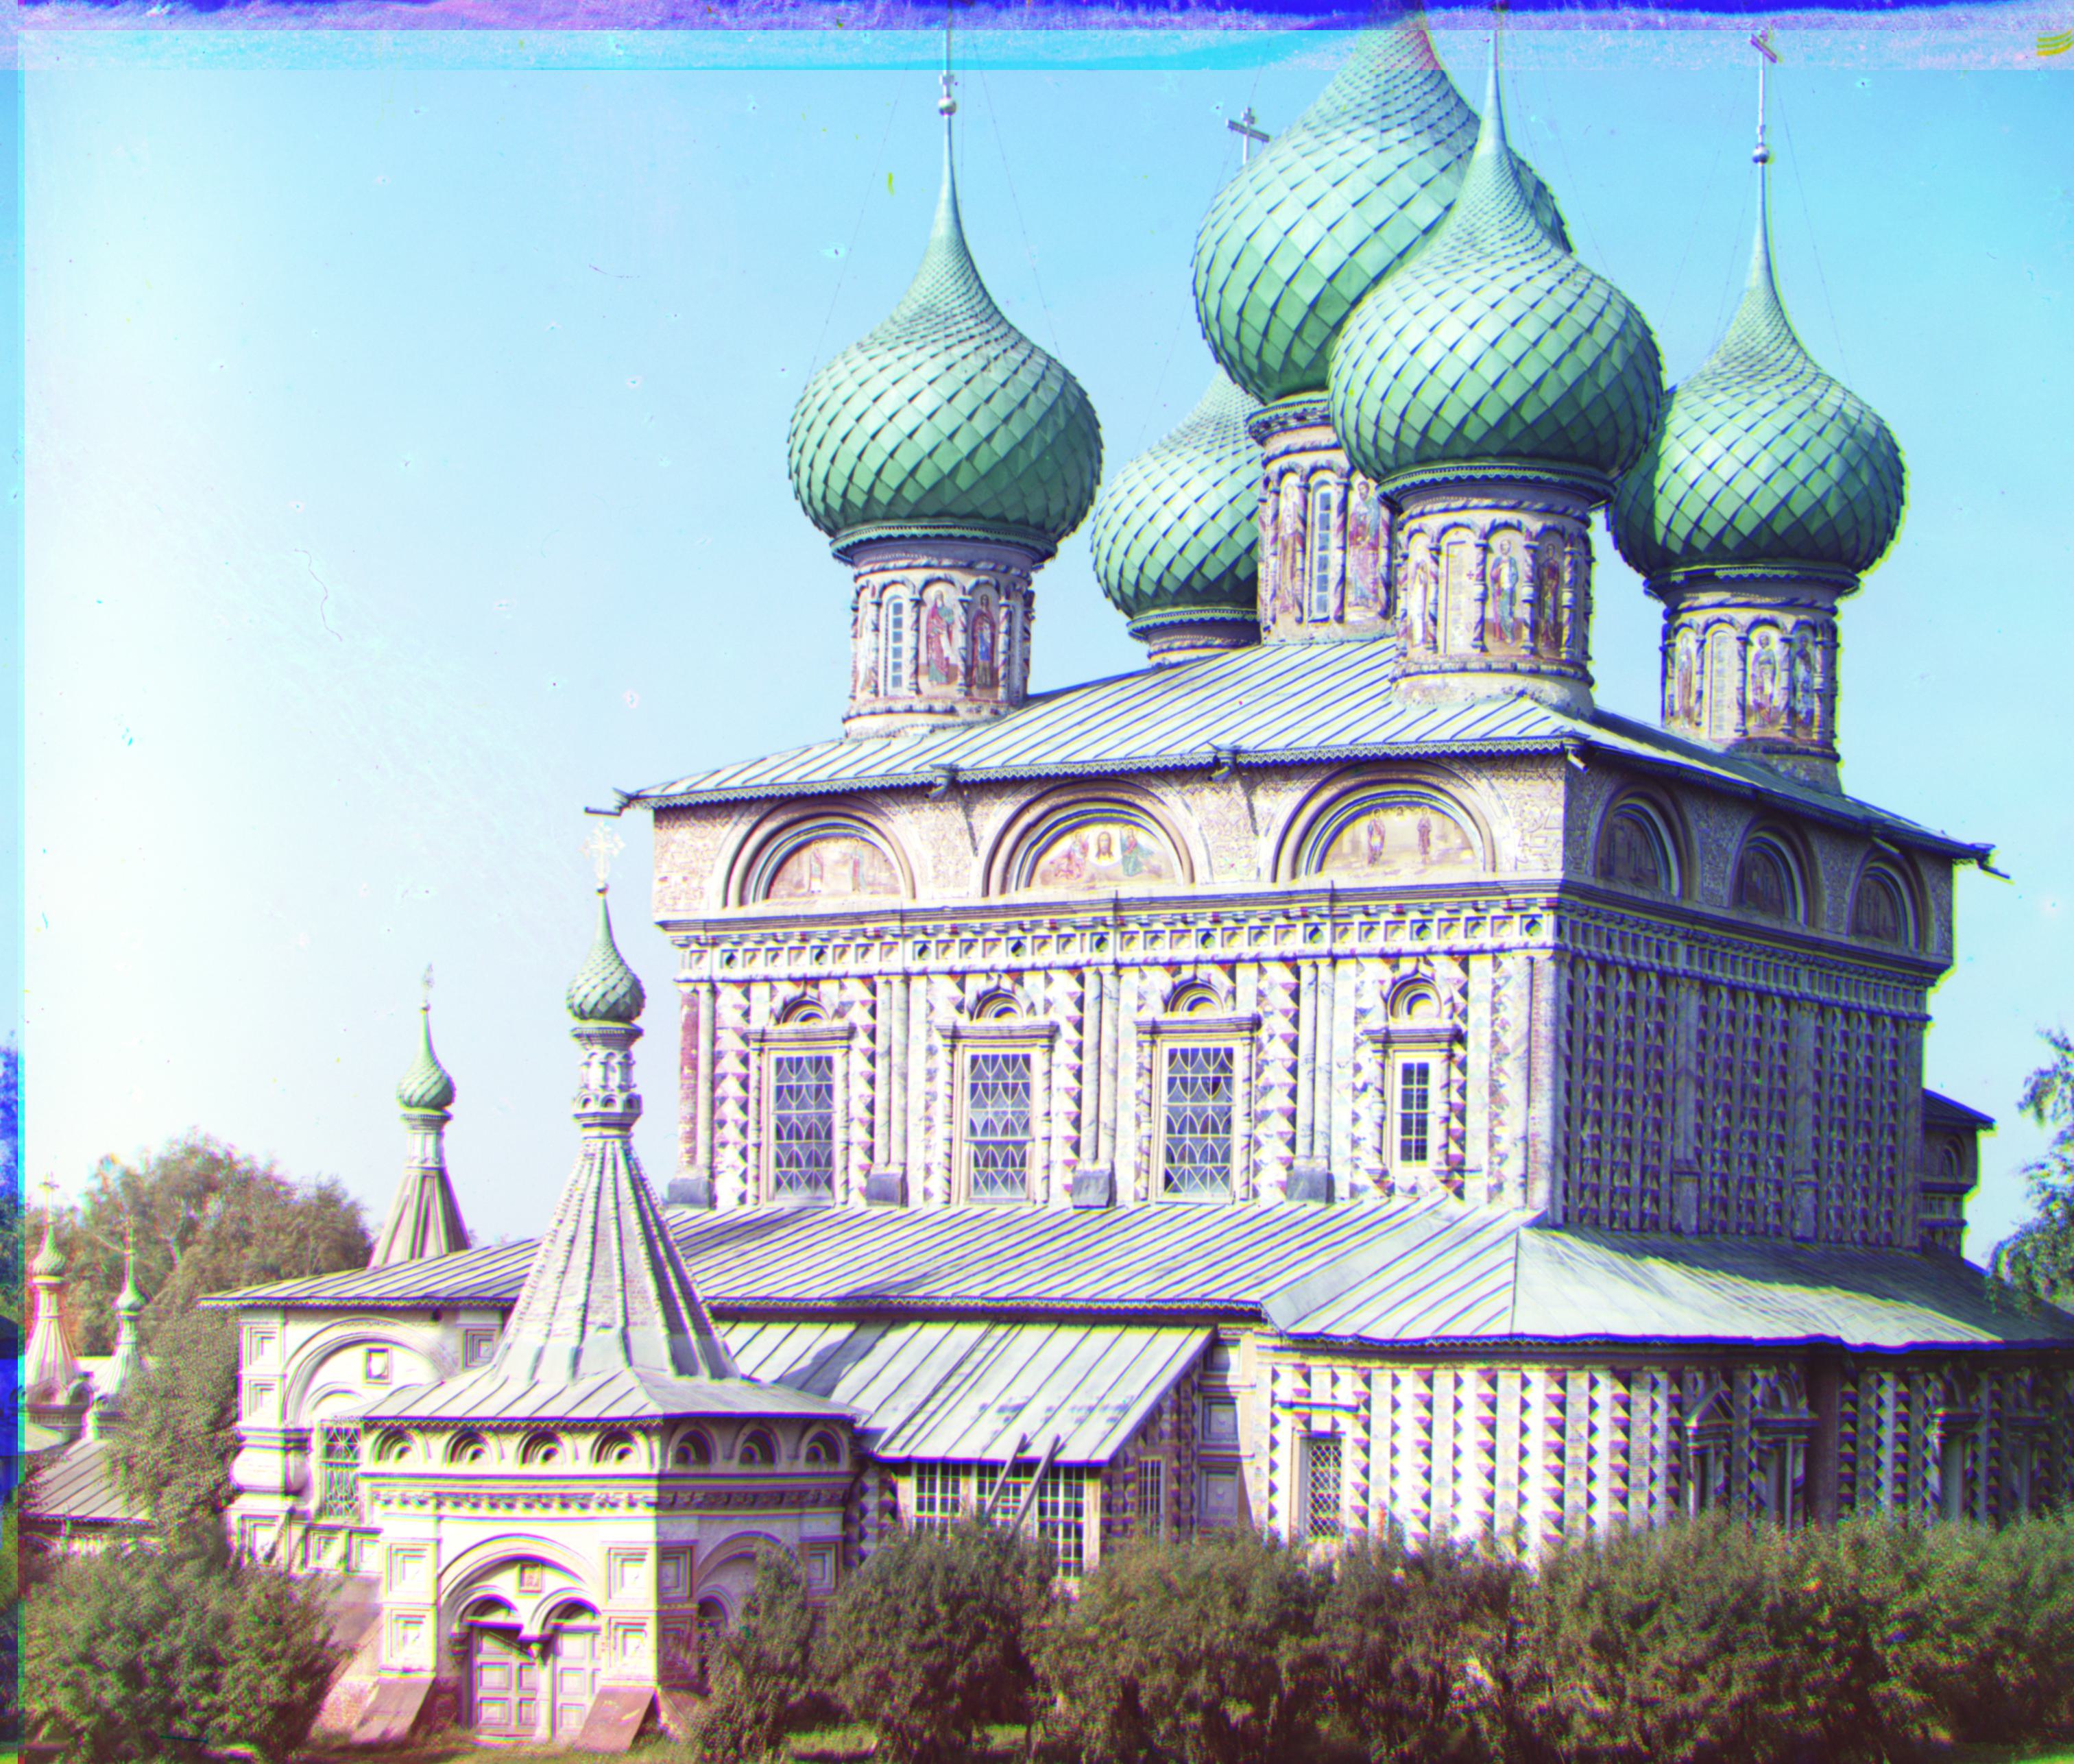
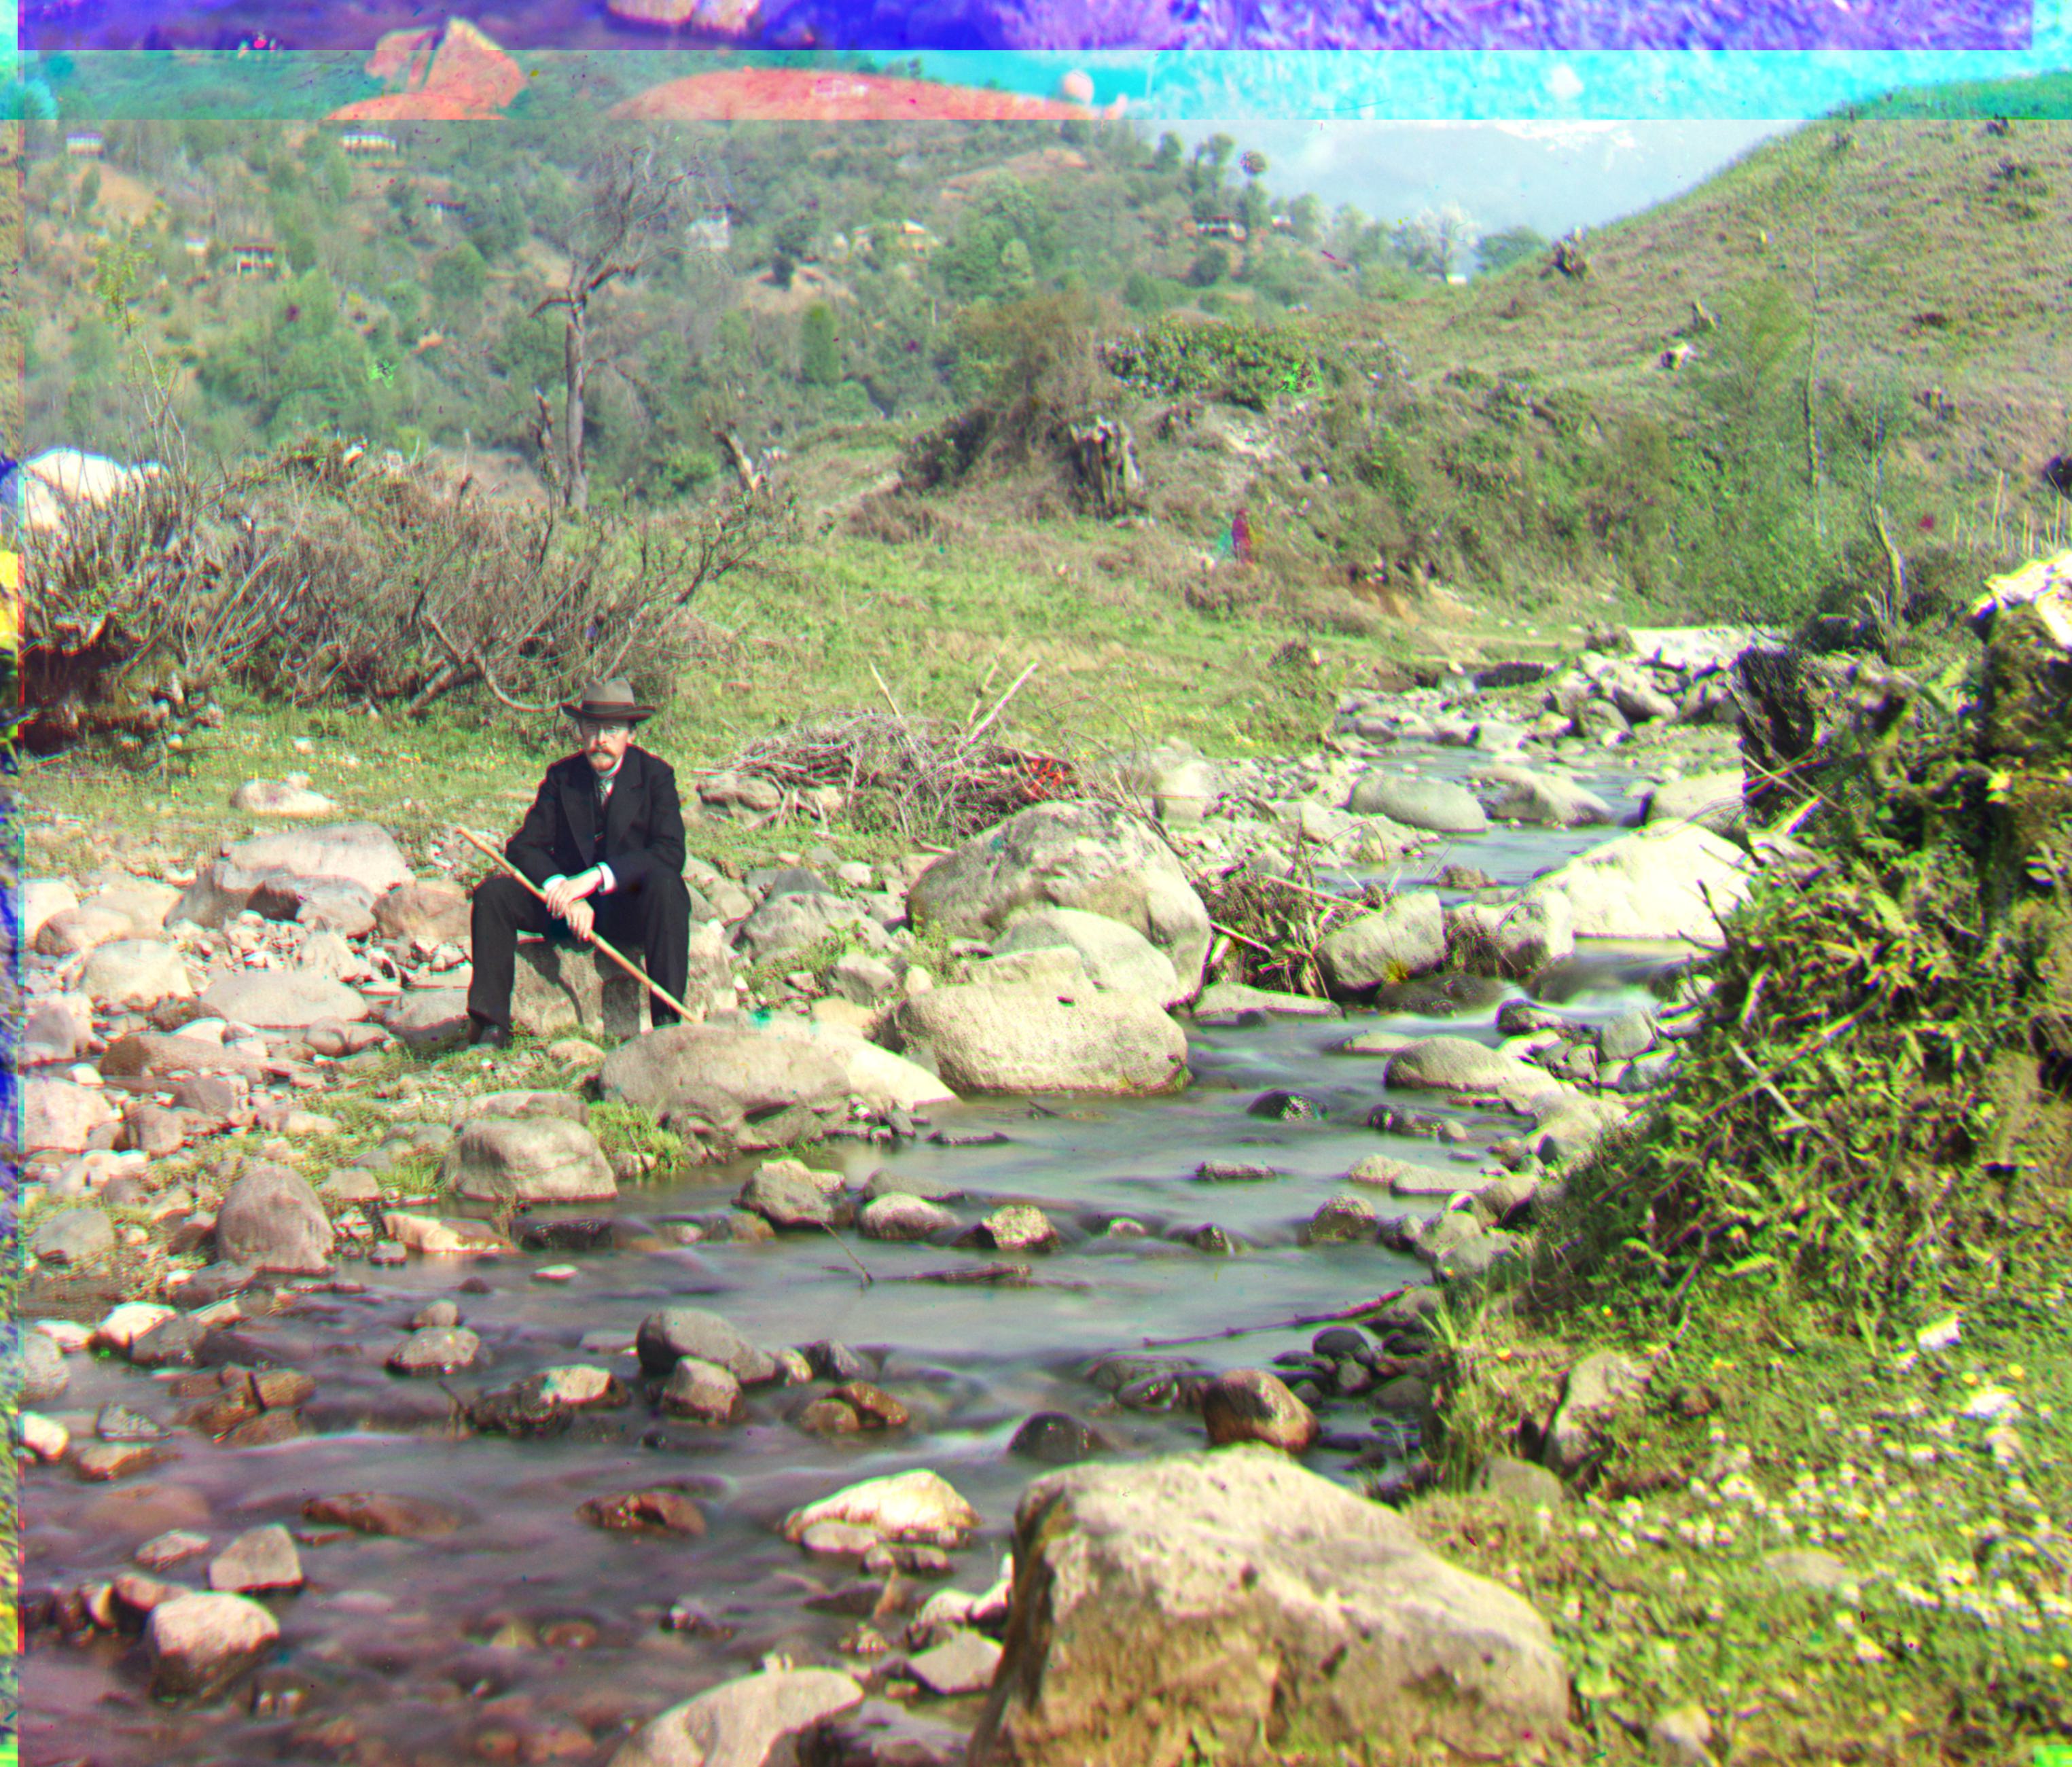
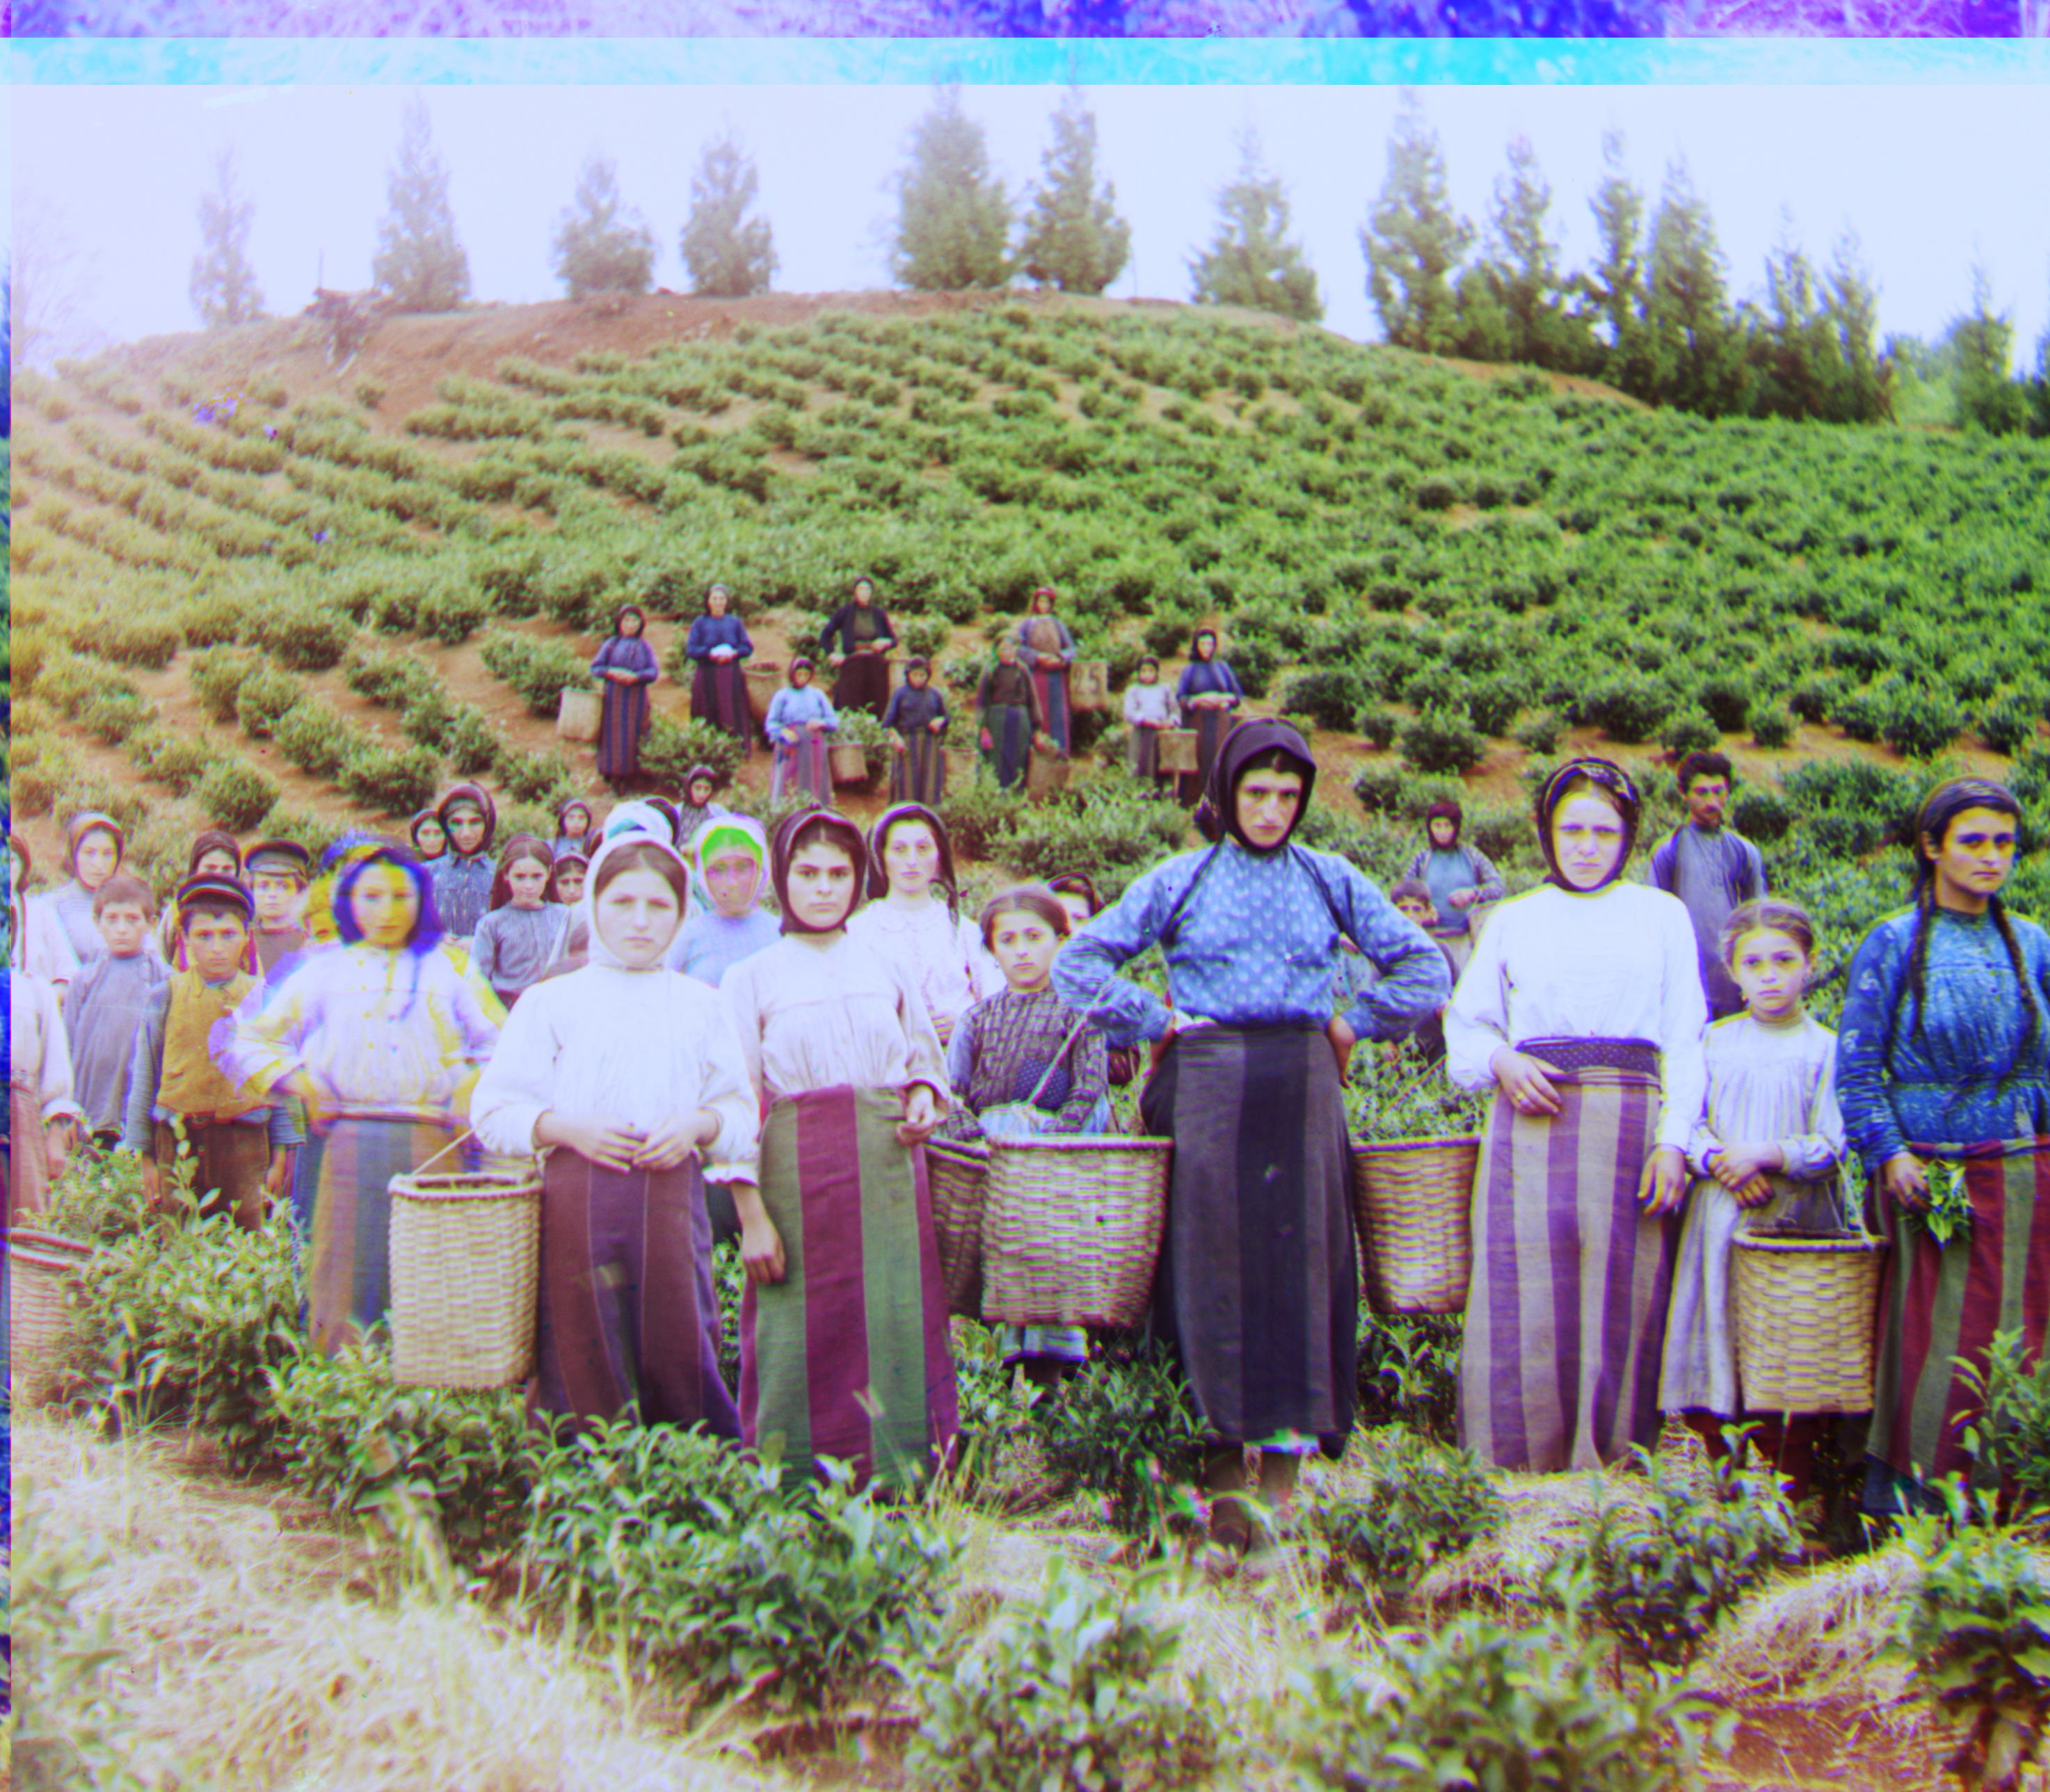
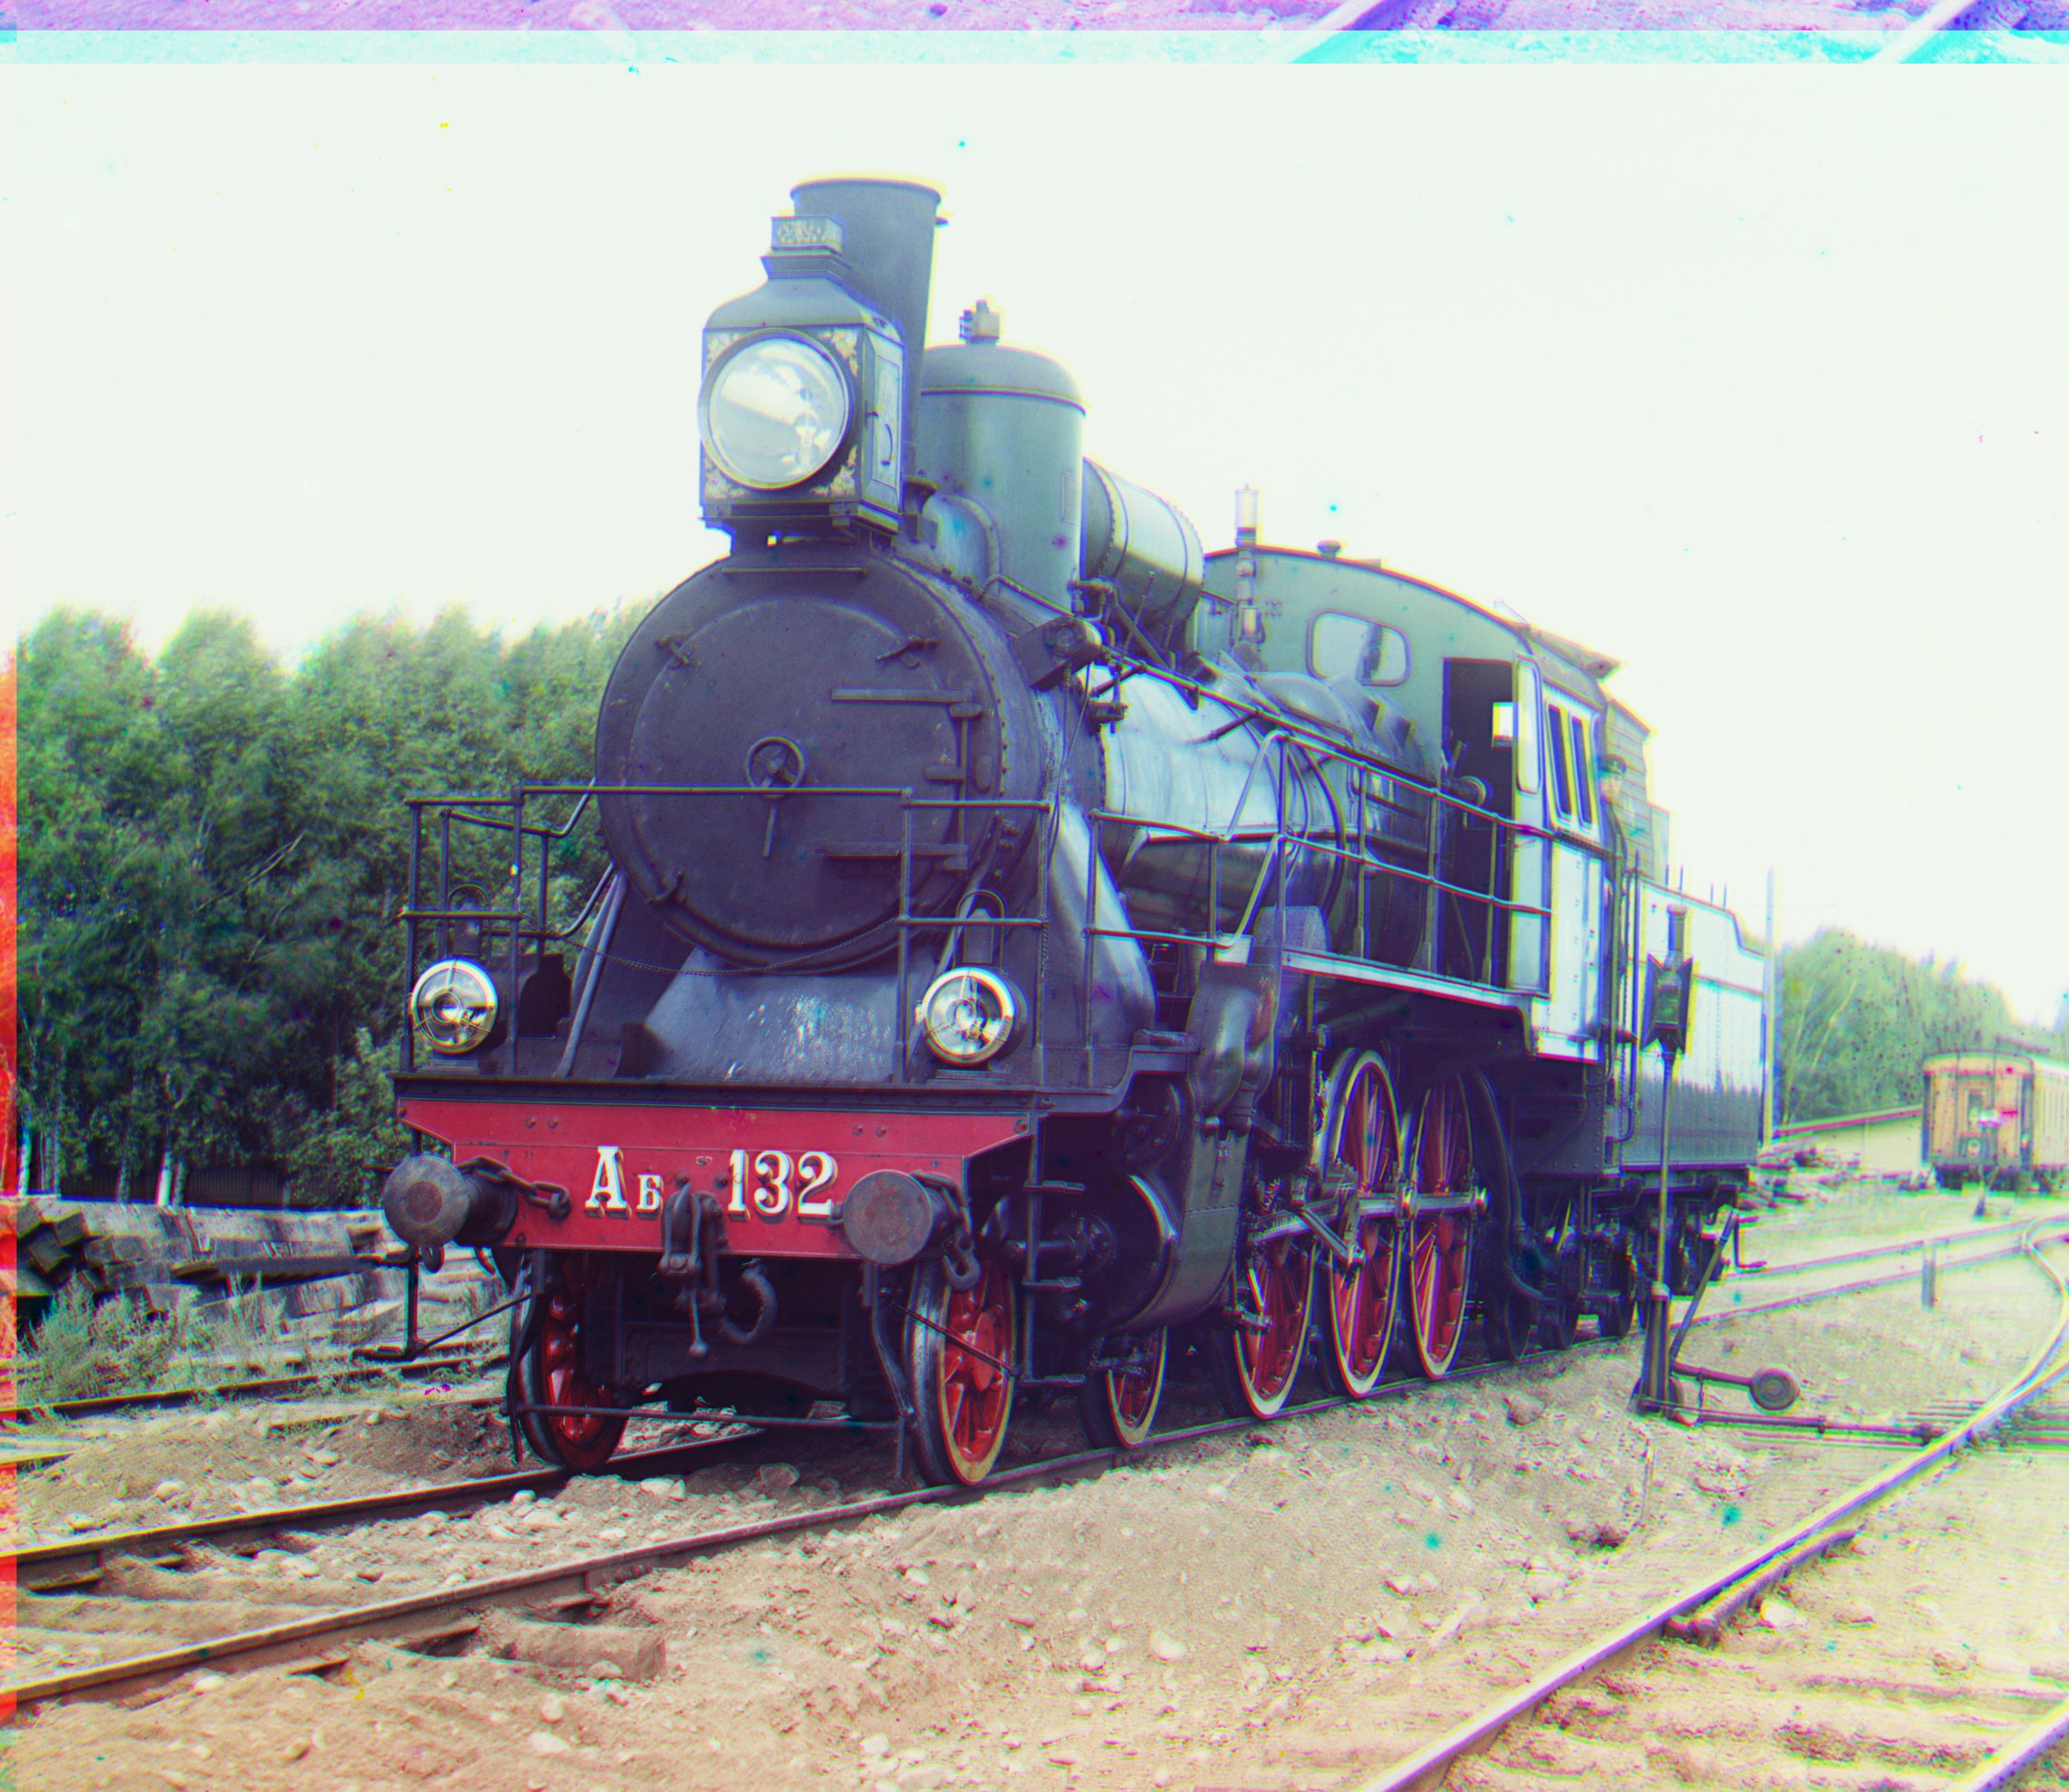
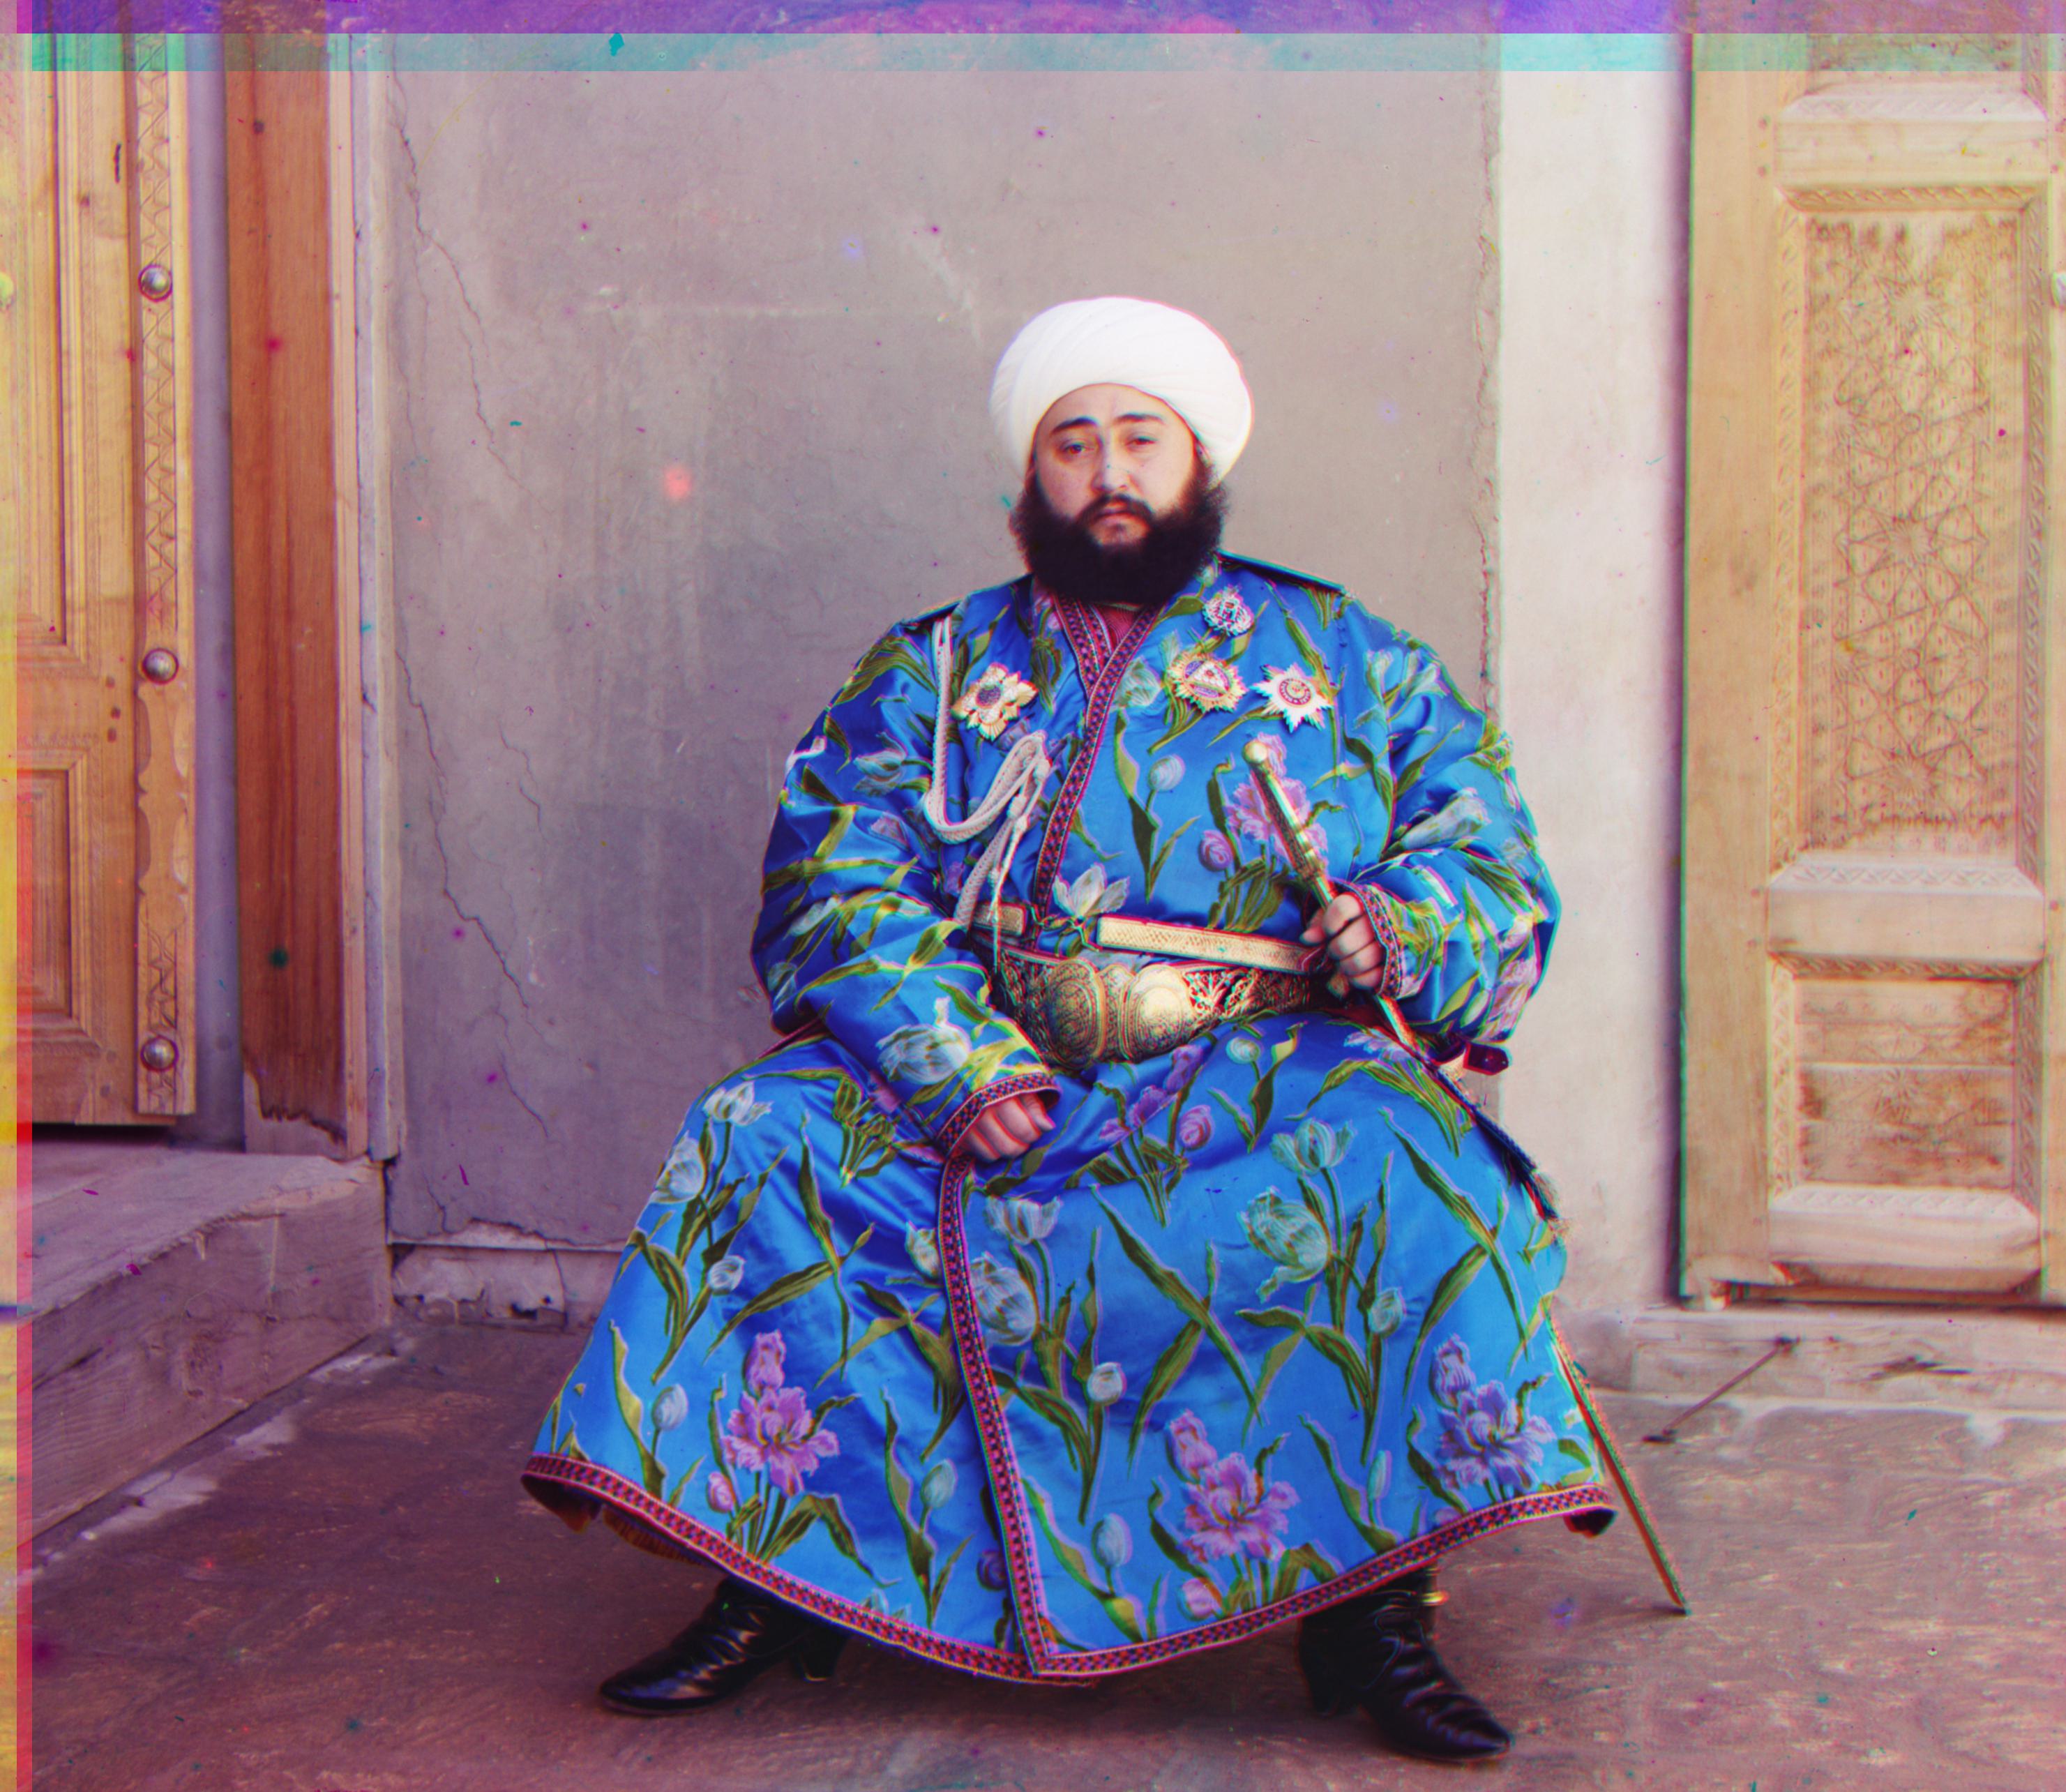
Below are the results for the large .tif images and their displacements. Notably, the emir.tif is not very well aligned compared to the others.
 |
 |
 |
| church.tif G: (0, 16), R: (-8, 52) |
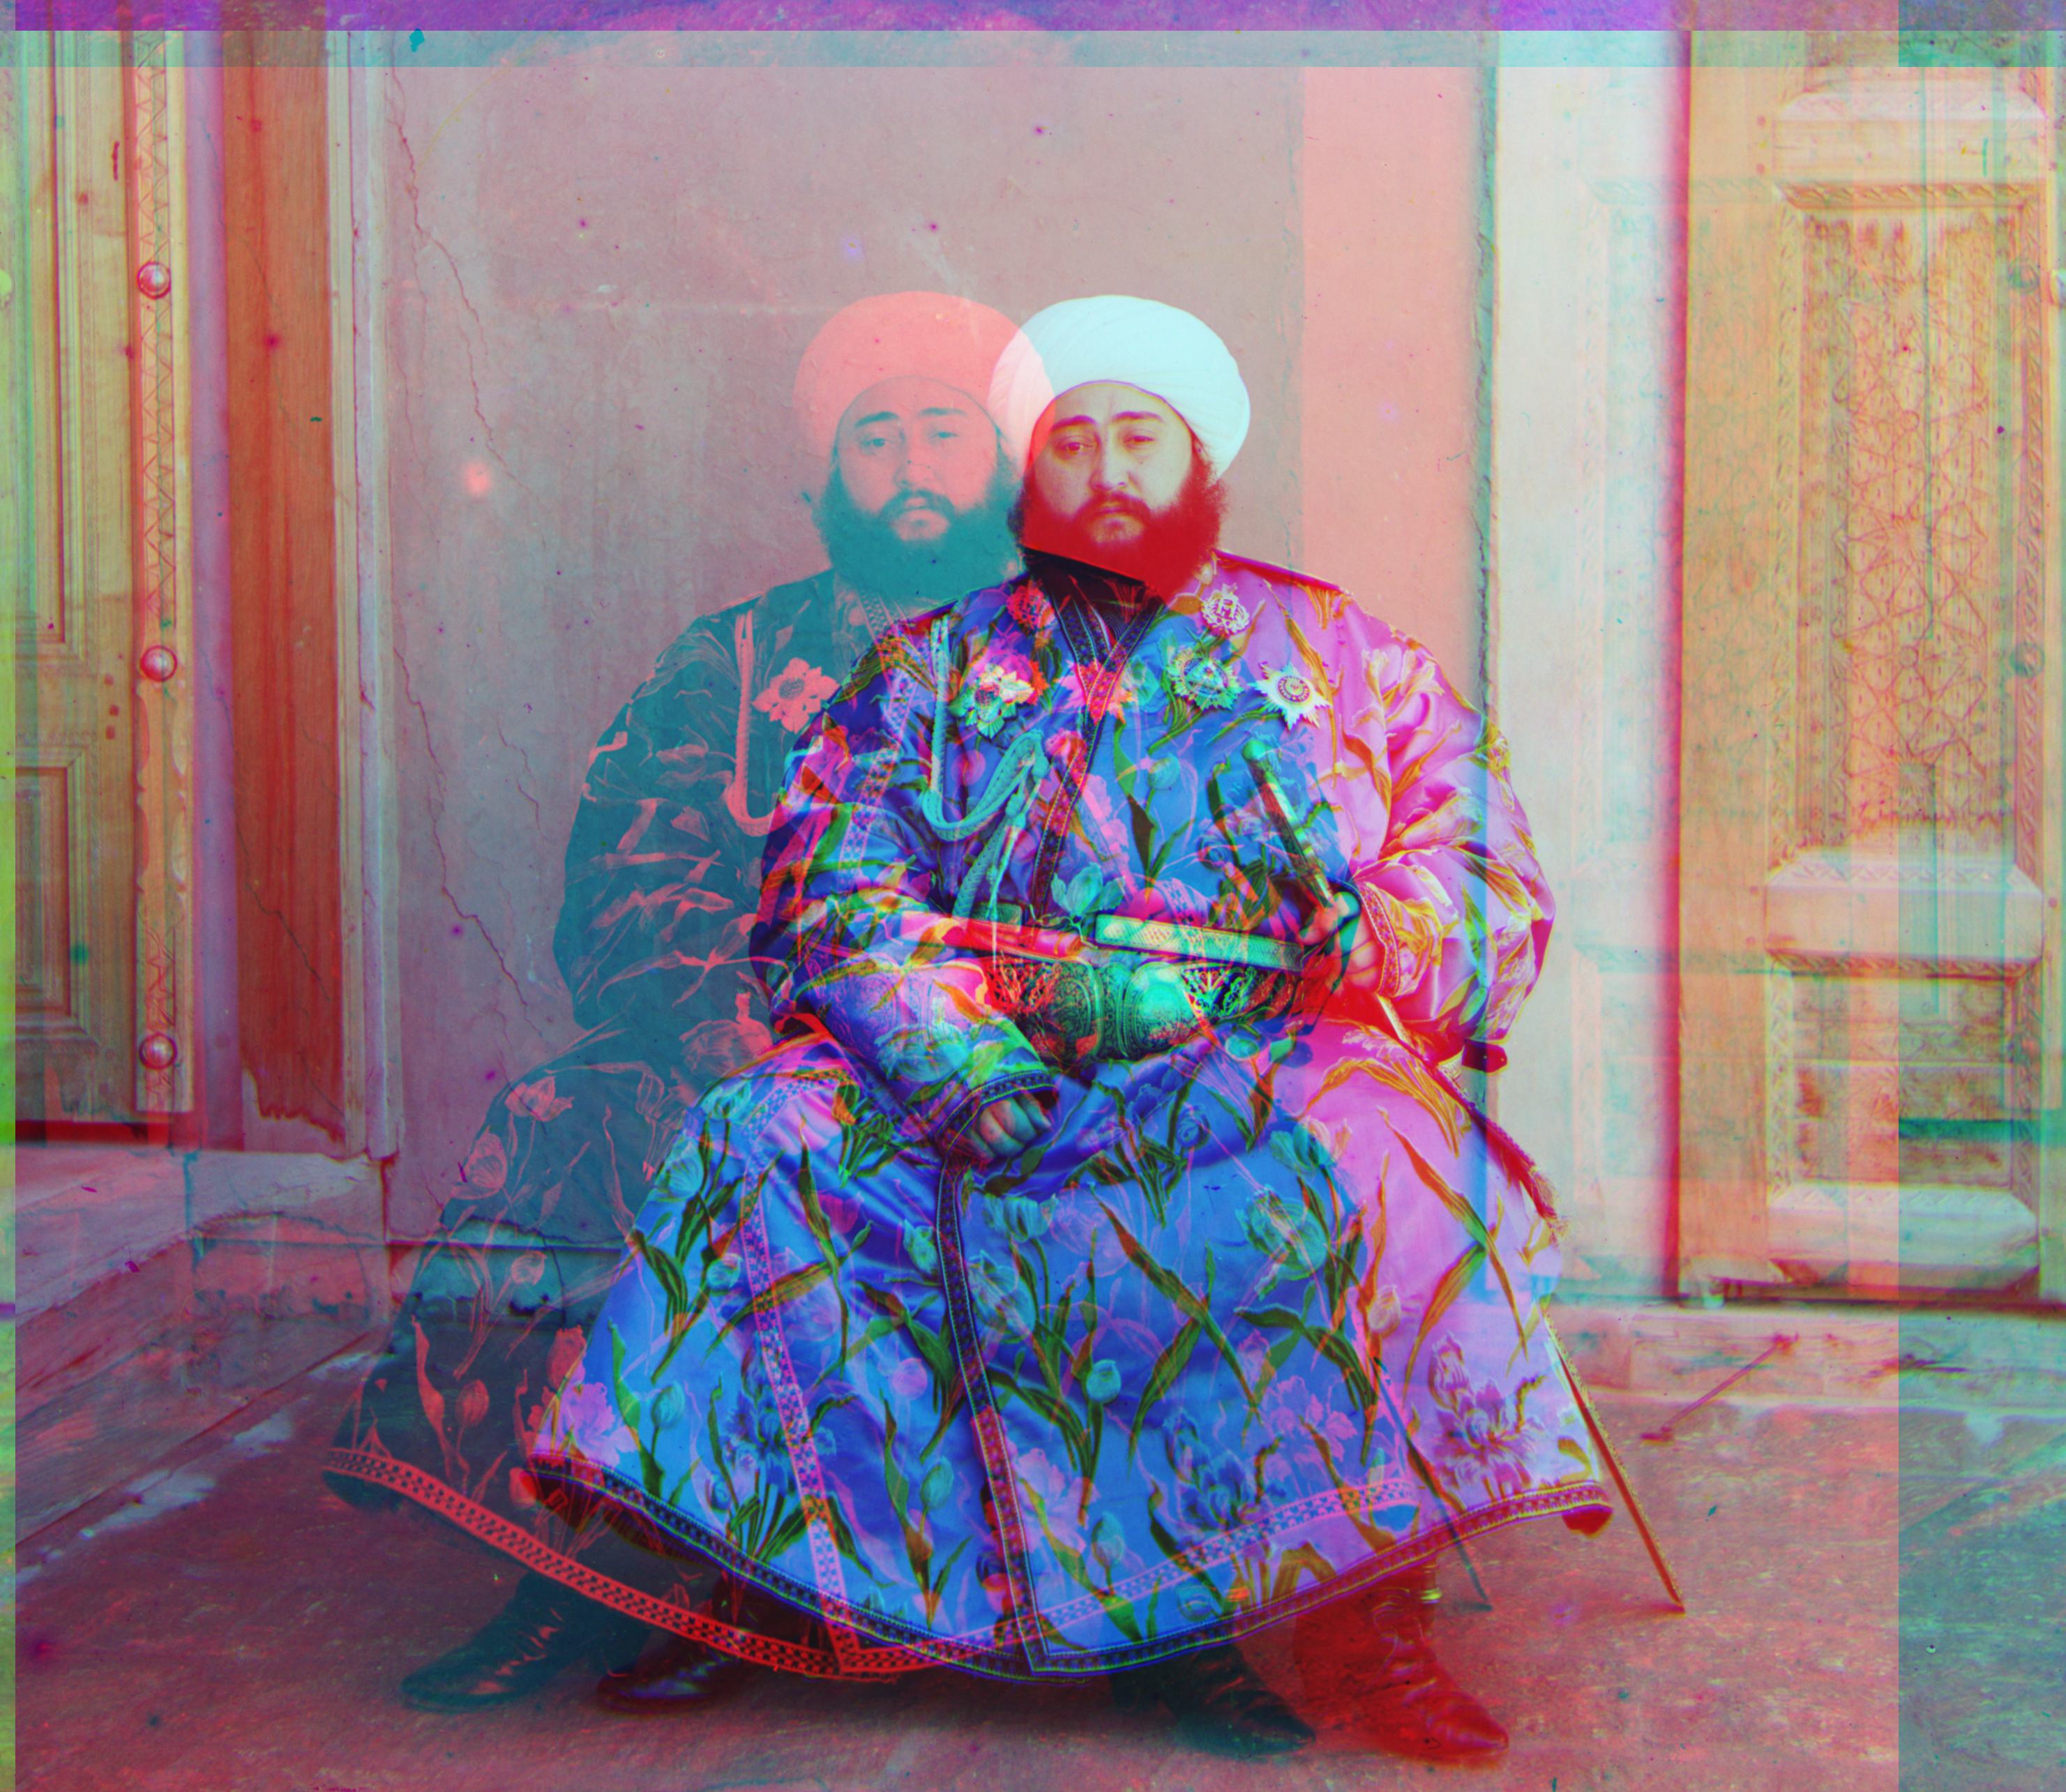
emir.tif G: (22, 44), R: (-240, 96) |
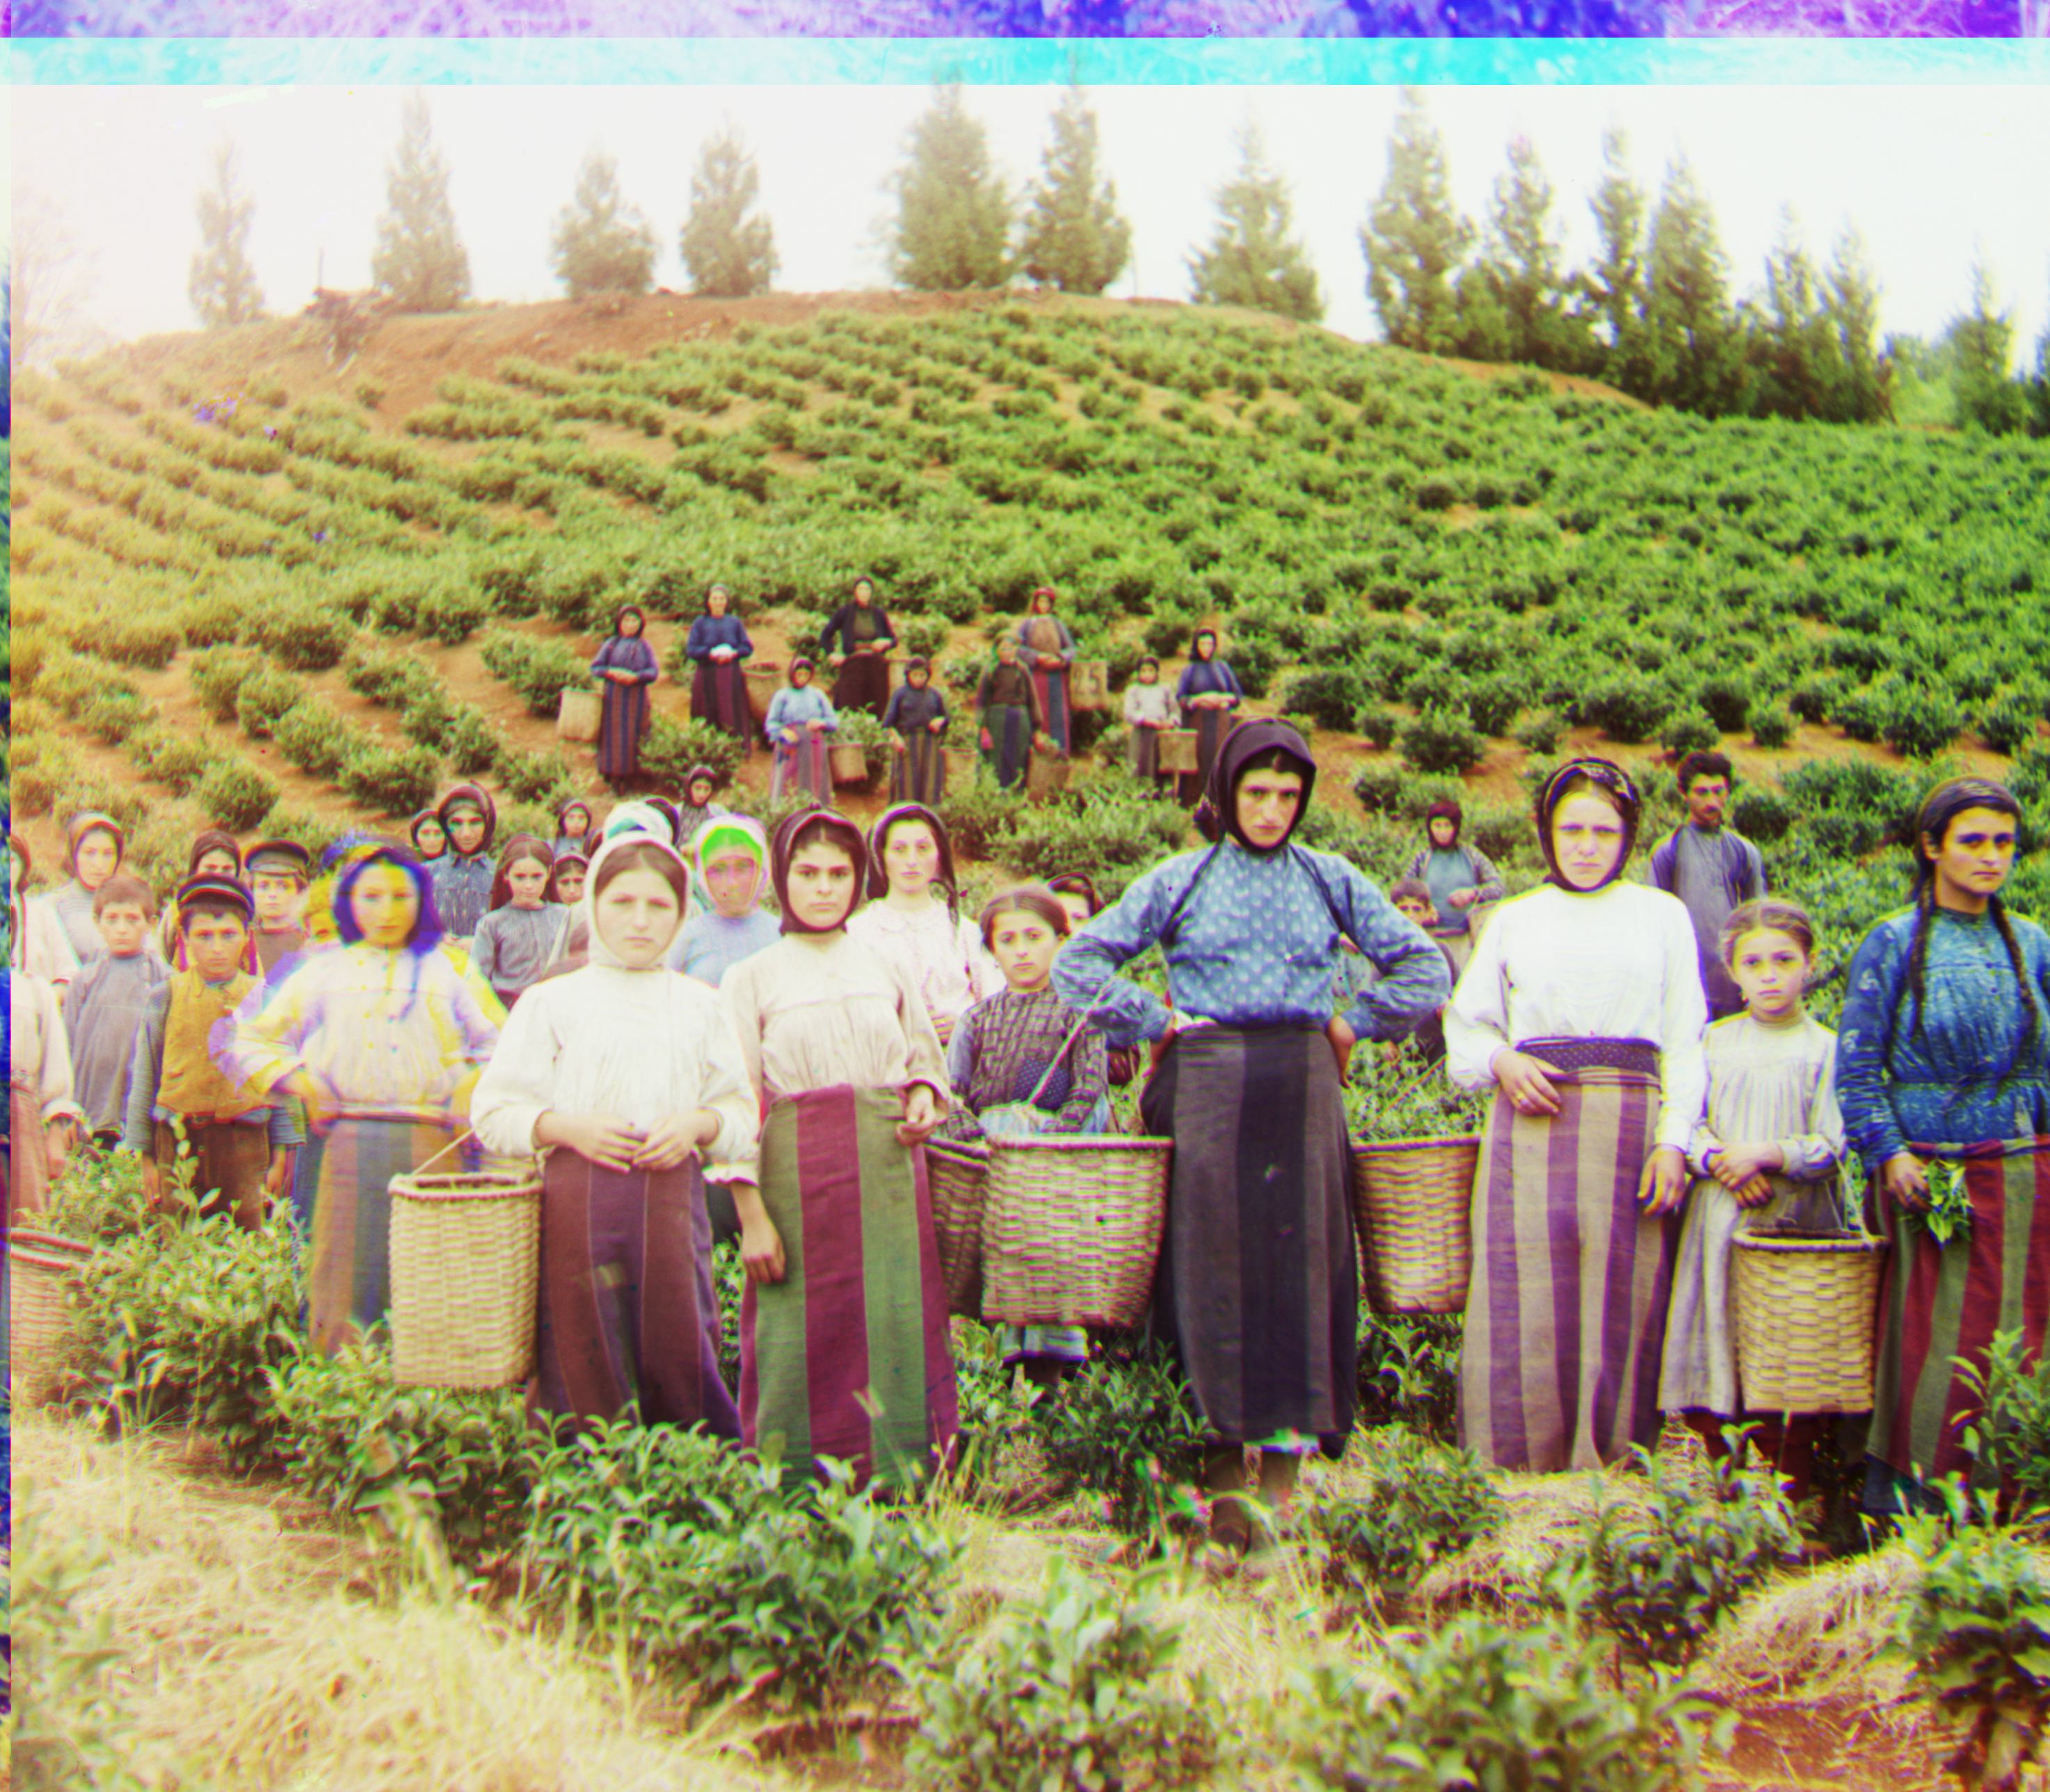
harvesters.tif G: (16, 54), R: (14, 122) |
 |
 |
|
| icon.tif G: (16, 38), R: (20, 86) |
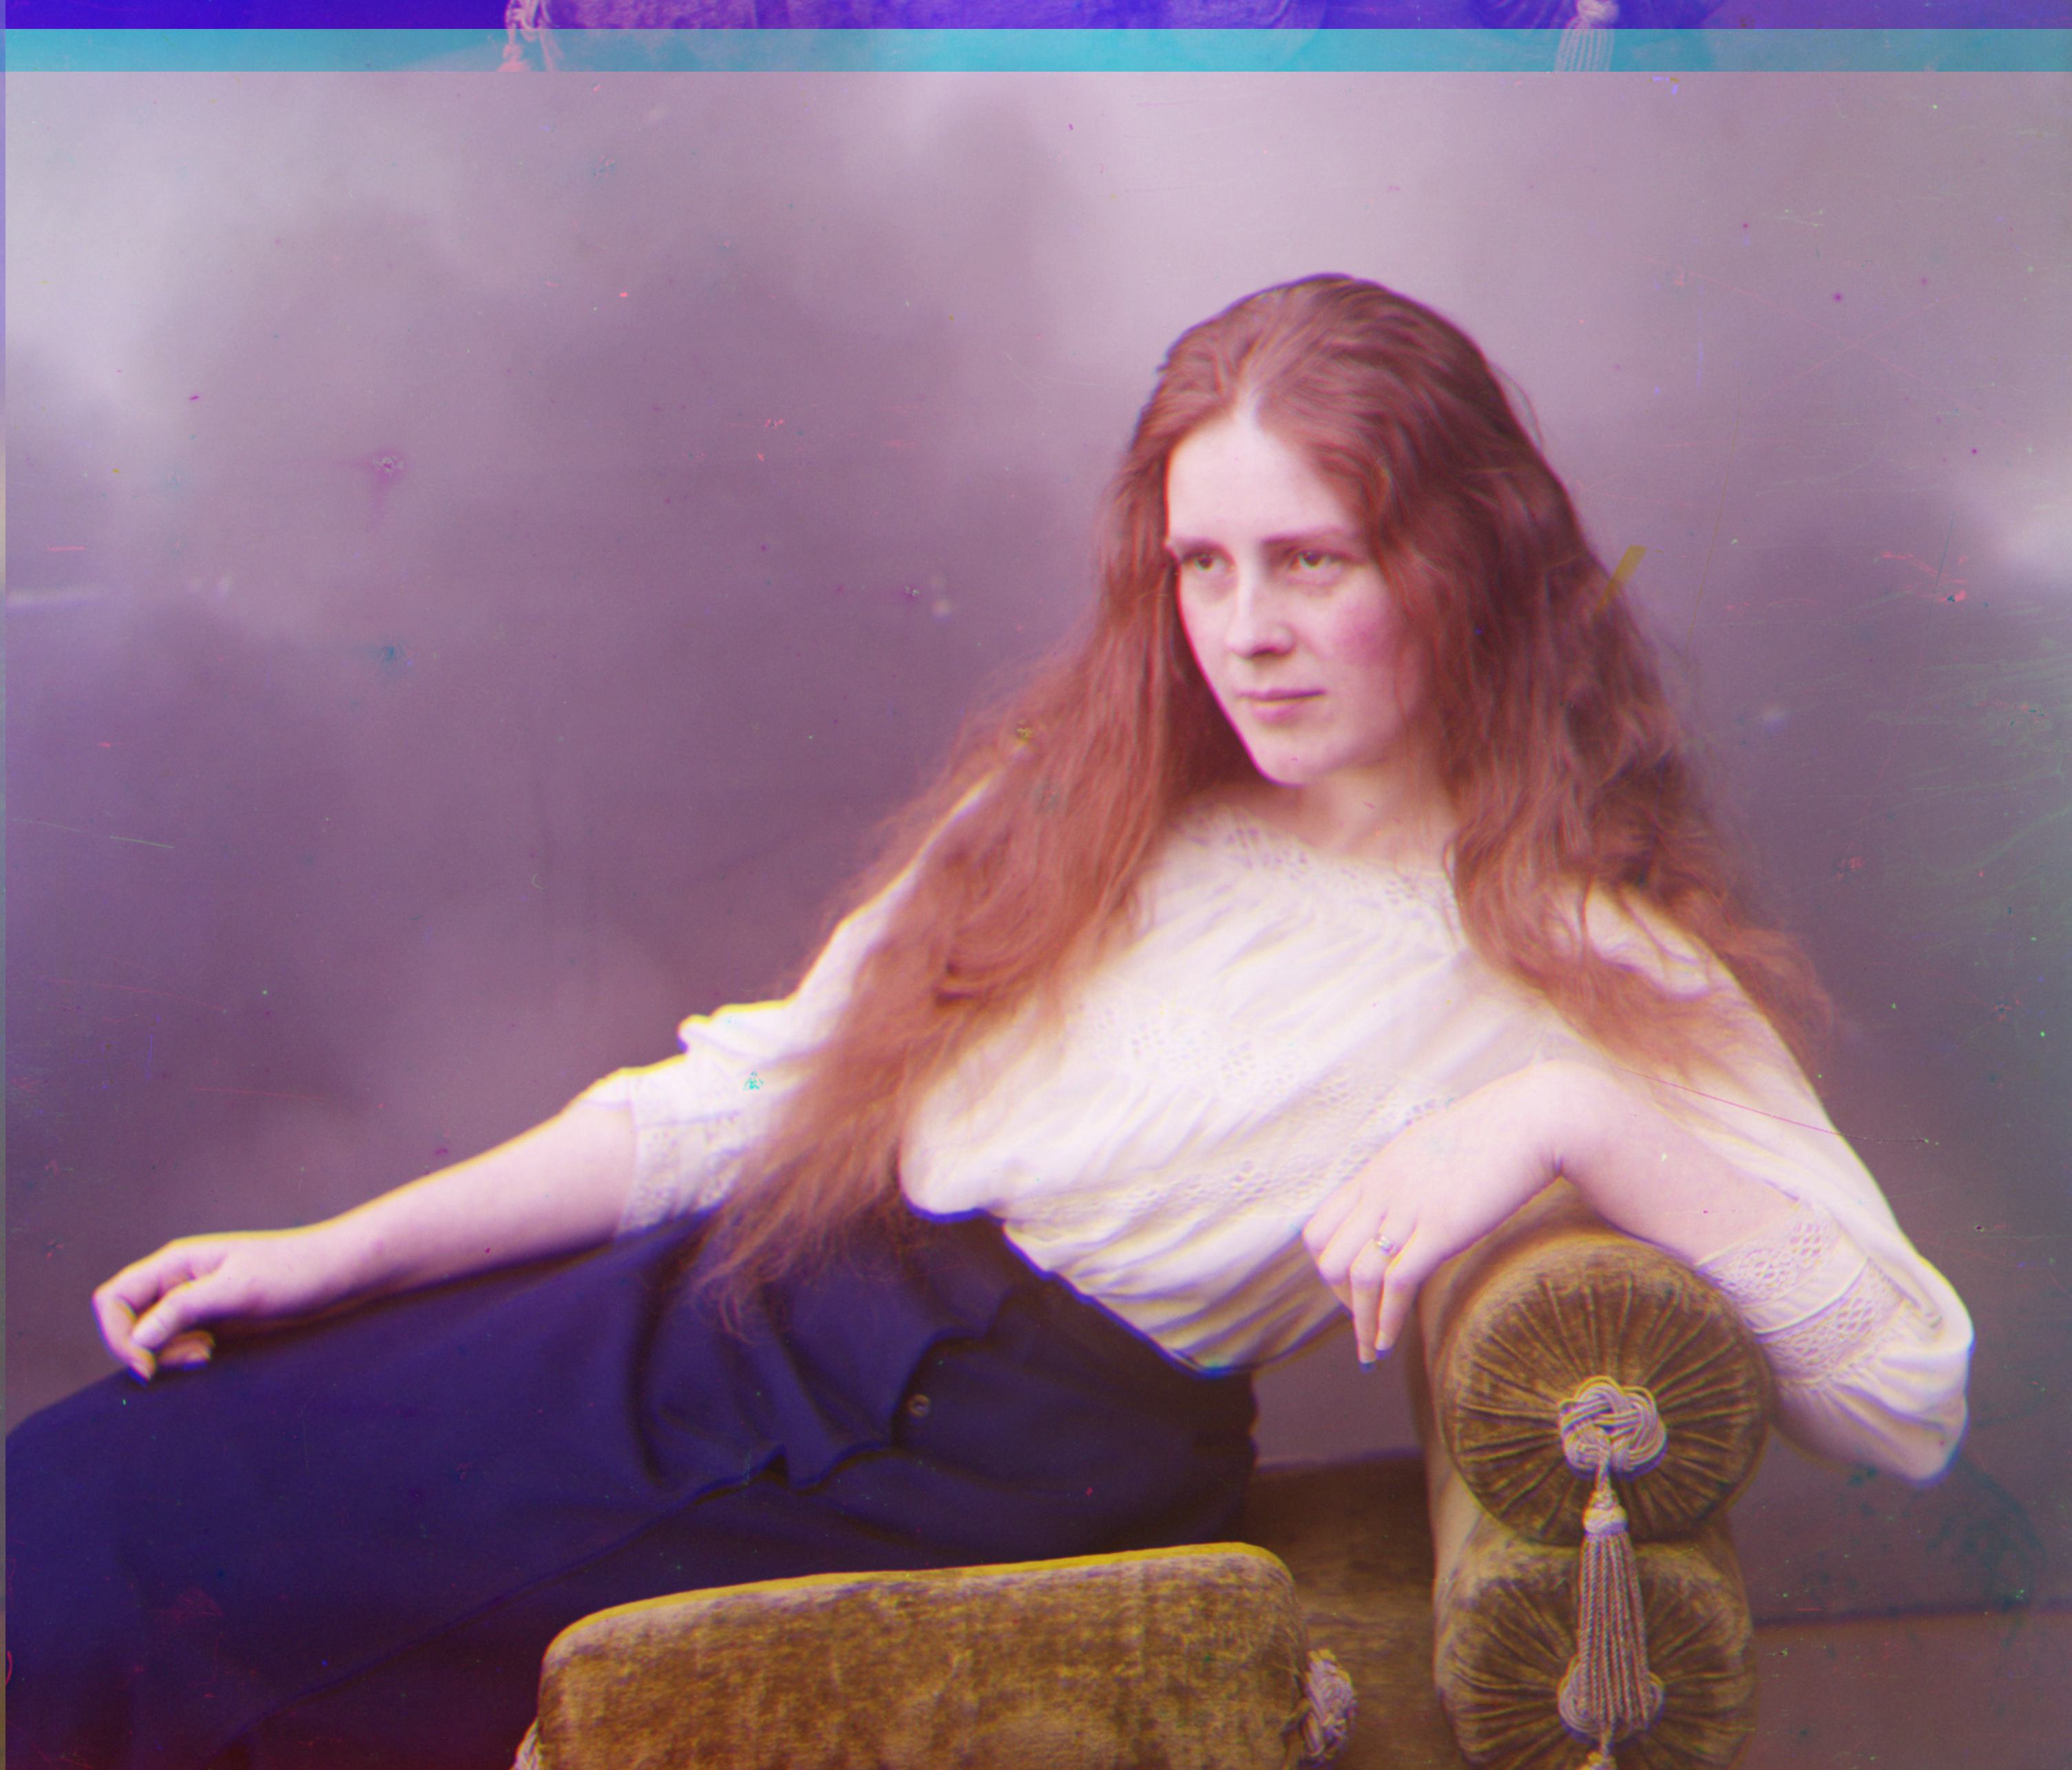
lady.tif G: (8, 42), R: (8, 104) |
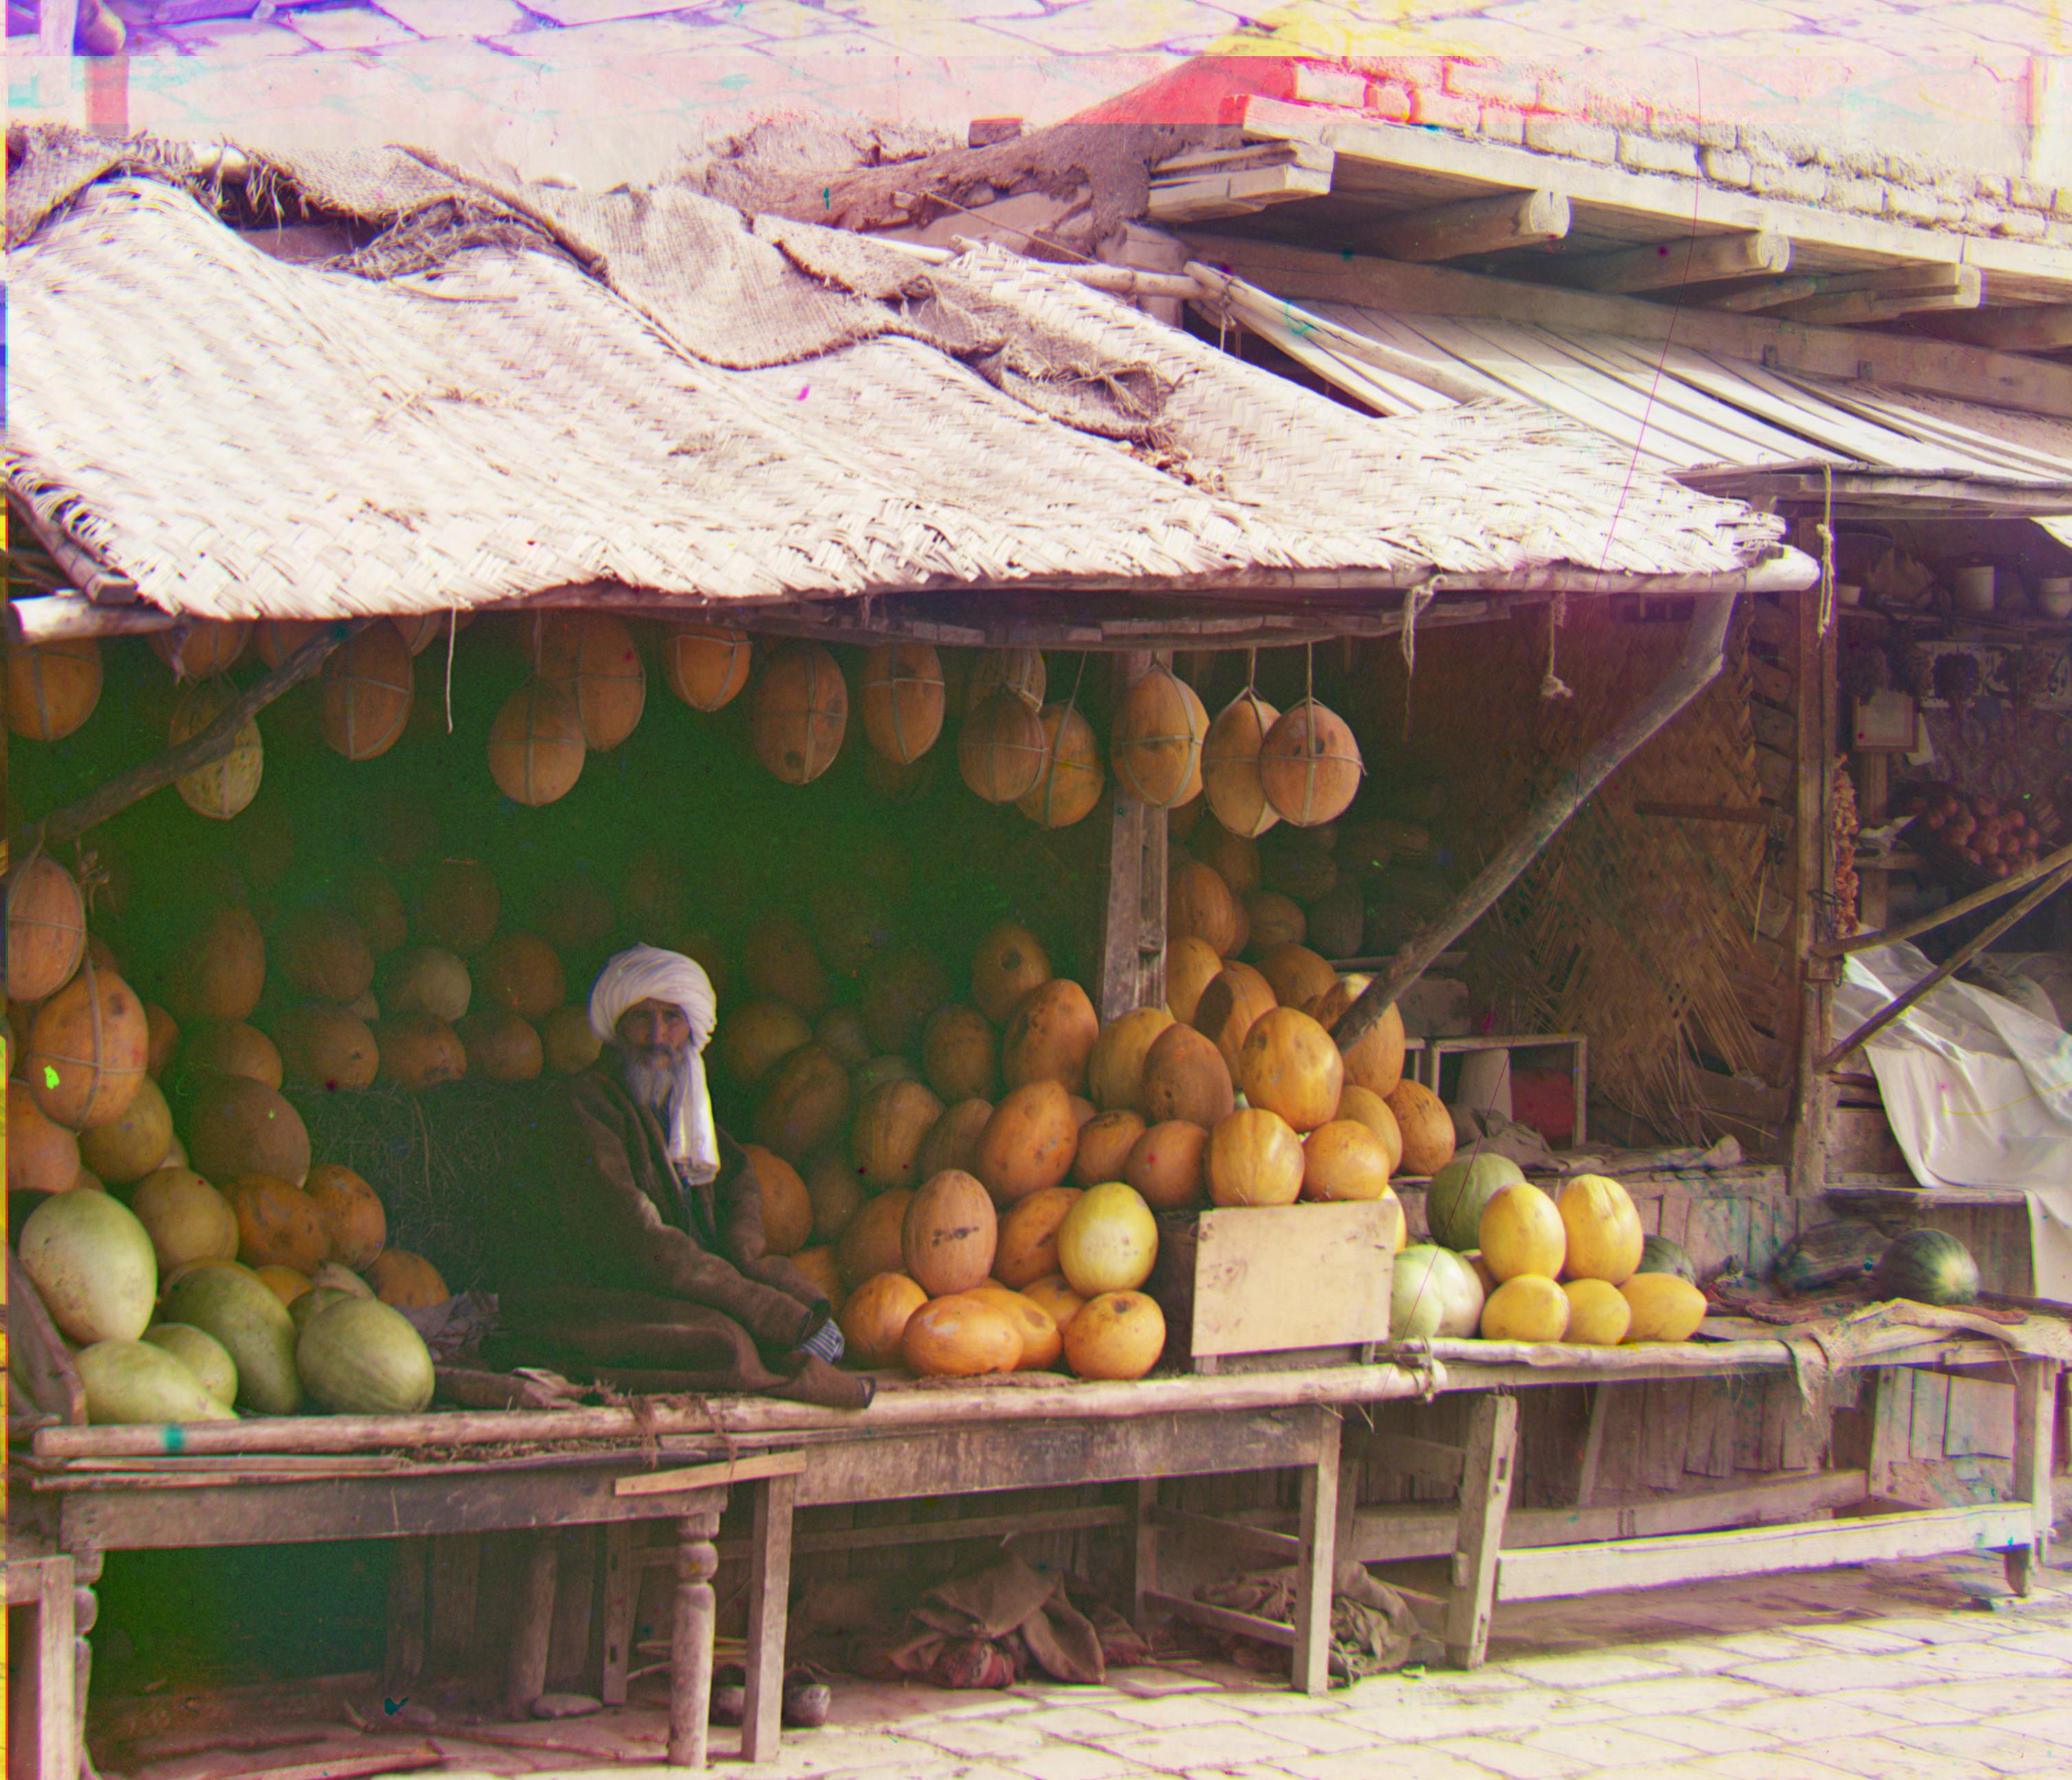
melons.tif G: (8, 82), R: (12, 180) |
 |
 |
 |
| onion_church.tif G: (26, 44), R: (36, 102) |
sculpture.tif G: (-10, 32), R: (-26, 140) |
self_portrait.tif G: (26, 74), R: (36, 176) |
 |
 |
No more images! |
| three_generations.tif G: (14, 52), R: (12, 114) |
train.tif G: (0, 44), R: (24, 92) |
N/A |
Bells and Whistles (Extra Credit)
Automatic contrasting (Histogram equalization)
Used Histogram Equalization to perform automatic contrasting. This equalizes the distribution of pixel colors in the image.
Specifically, I used:
As you can see from the results below, the regular histogram equalization usually yielded a “brighter contrast” while the adaptive histogram equalization yielded a “darker contrast”.
| Before | After Histogram Equalization | After Contrast Limited Adaptive Histogram Equalization (CLAHE) |
|---|---|---|
|
 |
 |
|
 |
 |
|
 |
 |
Automatic color balancing (aka white balancing)
The first color balancing method I used was white patch, where you assume that the brightest pixel (or the pixel in the Xth percentile of brightness) is white and rescale everything accordingly.
| Before | After |
|---|---|
|
 |
|
 |
|
 |
The second color balancing method I used was gray world, where you rescale the pixel values under the assumption that the average pixel value is gray. This resulted in a blueish tinge to images.
| Before | After |
|---|---|
|
 |
|
 |
|
 |
Better Features
Noticeably, the emir.tif image did not get aligned properly using an image similarity metric of SSD. Switching the metric to maximizing structural similarity fixed the alignment. The best displacement was G: (24, 48), R: (46, 102).
| Before | After |
|---|---|
|
 |